Taking professional-looking foot photos using just a smartphone is way more doable than it might seem at first. Maybe you’re hoping to start a side hustle, create some snazzy content for socials, or take up your product photography a notch. In any case, you really don’t have to have a fancy camera to get crisp, flattering shots. I’ll walk you through beginner-friendly gear, key lighting tricks, smart setup strategies, angles, and posing tips—all so you can snap foot photos you’ll genuinely be proud to show off (or maybe even sell).
This post may contain affiliate links. If you click and buy through them, I may earn a small commission at no added cost to you. For more details, see my affiliate disclosure.
Basic Gear You’ll Need for Foot Photography
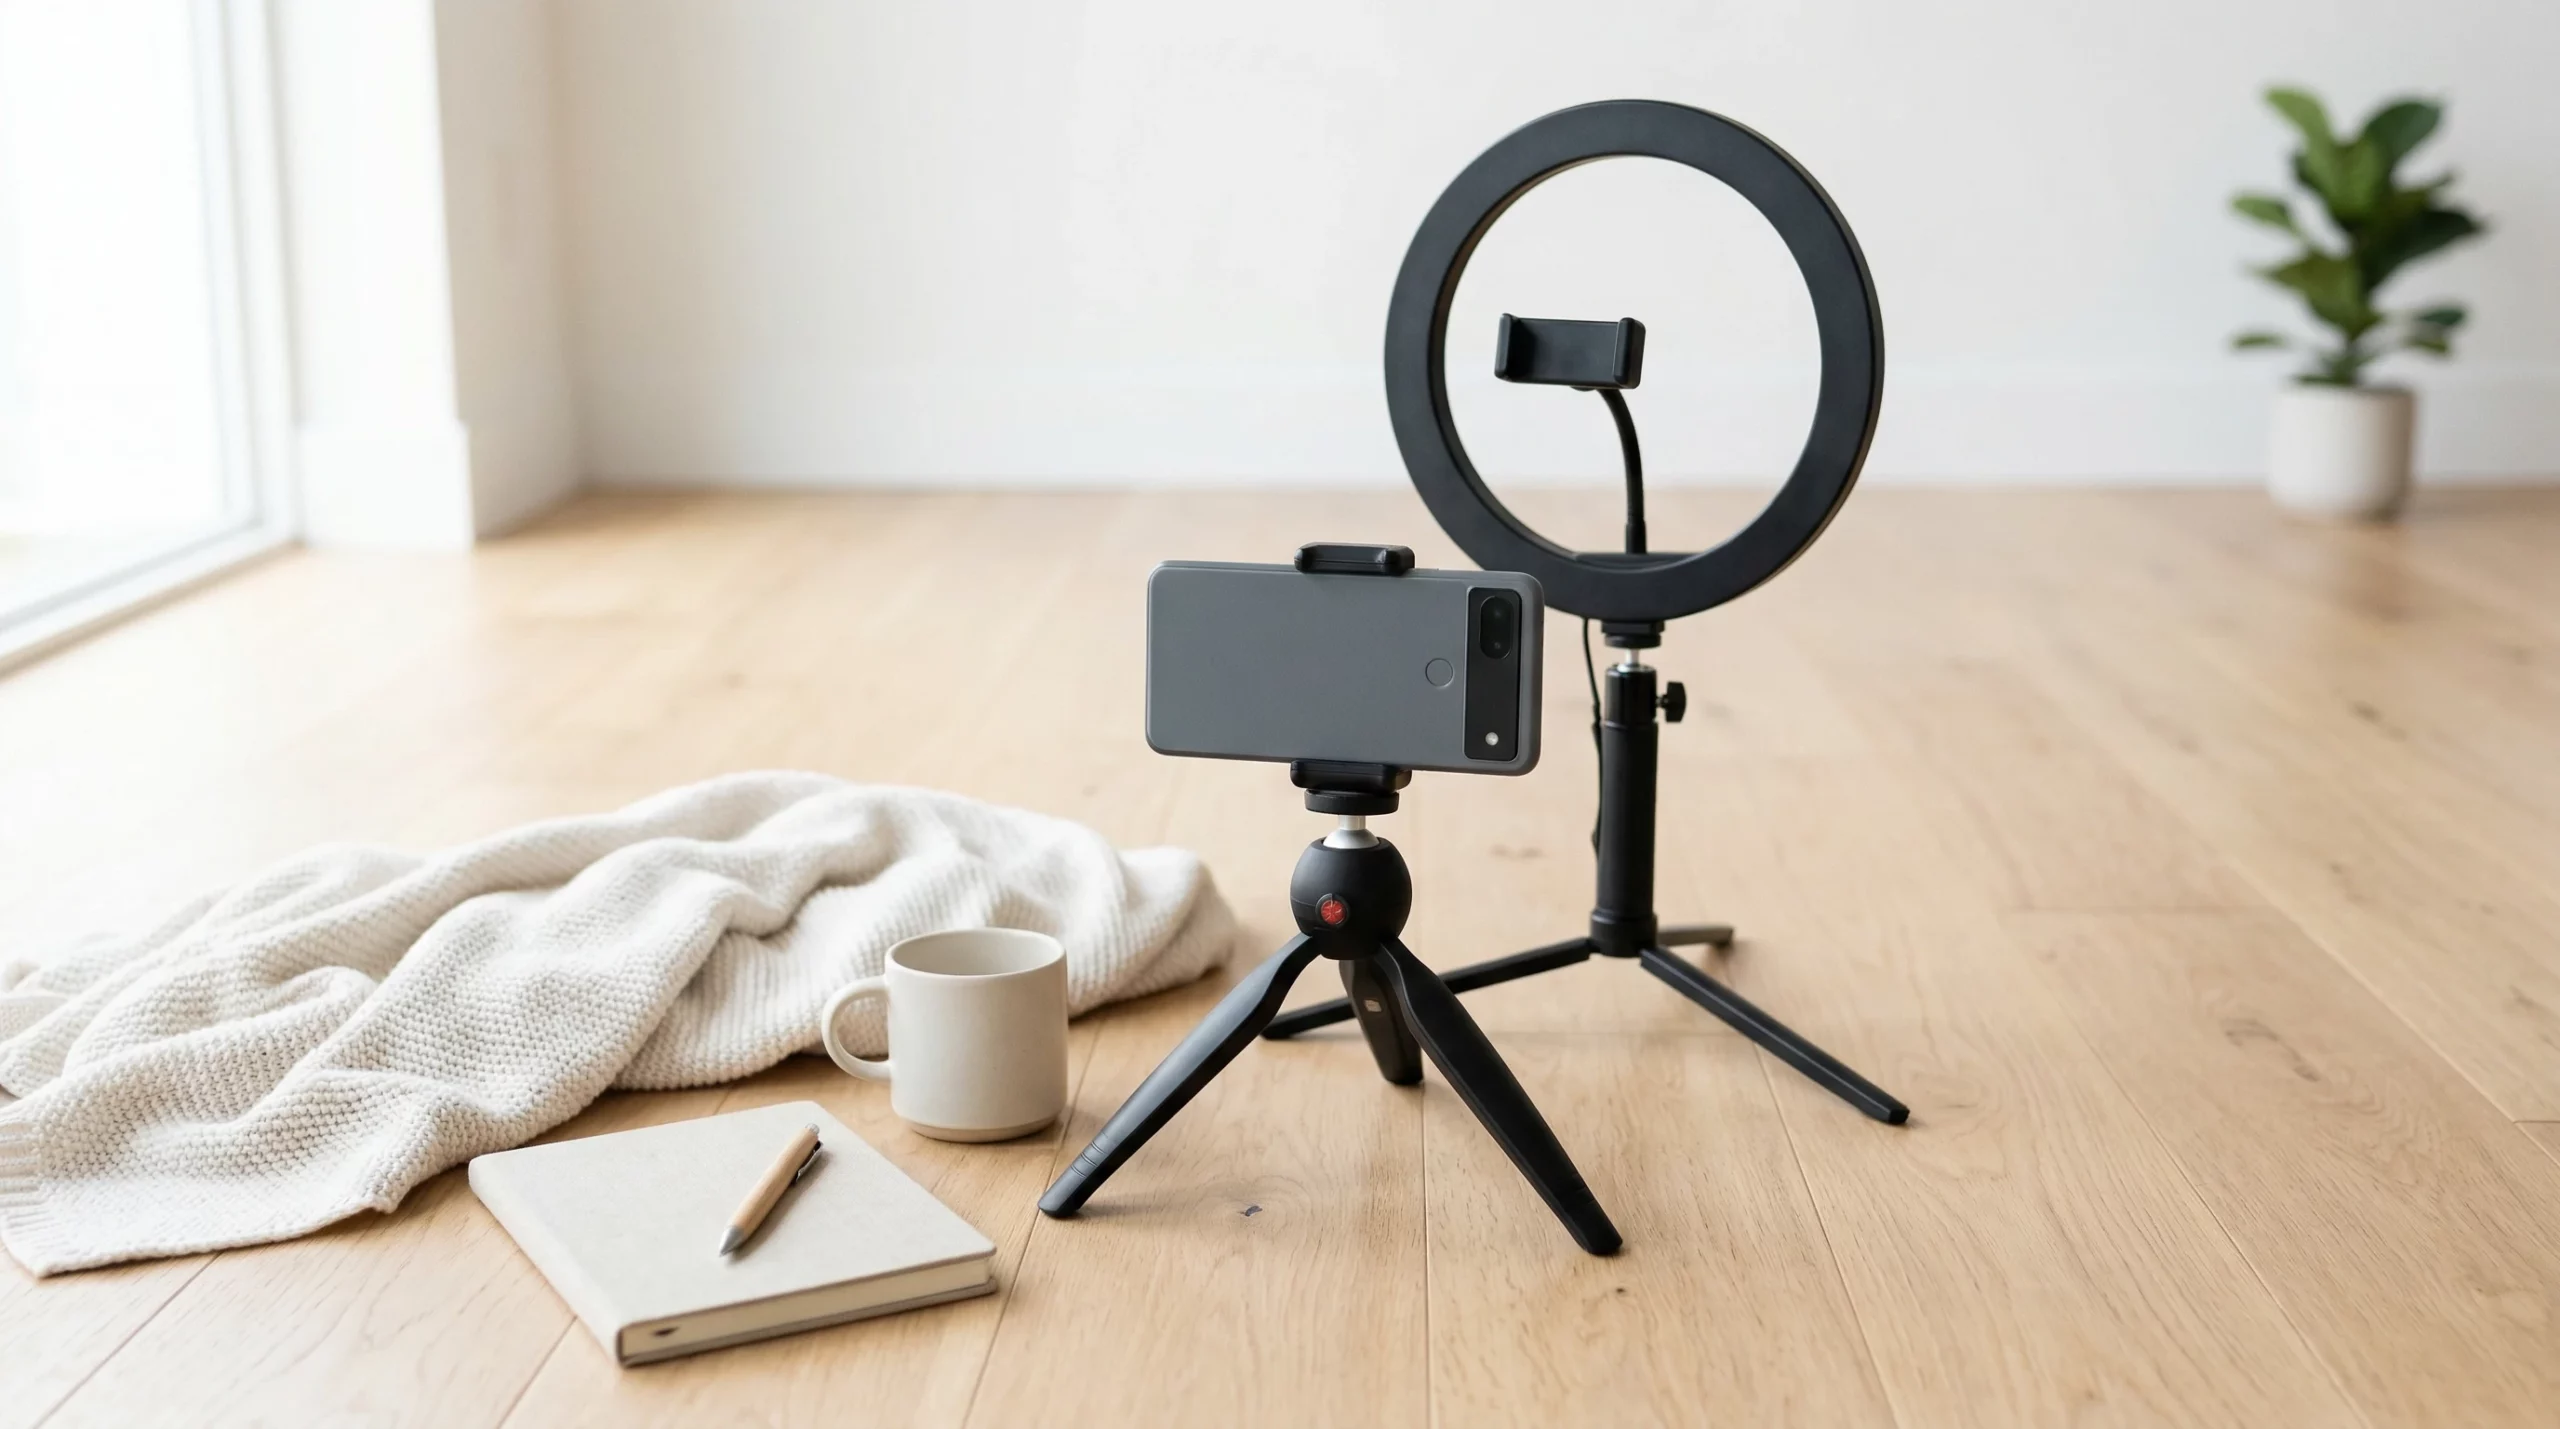
One of the best things about foot photography is how little gear you need. For most people, the smartphone in their pocket is up to the task. A few budget-friendly add-ons can really bump up your shots, making them pop with clear focus and good lighting.
- Ring Light: This is a game changer for even light and gentle shadows. A good ring light brightens up skin tones and helps with those clean, pro vibes.
- Smartphone Tripod: Shaky camera? Not a problem. A tripod keeps everything sharp and lets you pose handsfree.
- Phone Camera Lenses: A set of clip-on lenses is super useful if you want to experiment with wide-angle, macro, or closeup styles without spending a lot.
I always make sure my phone’s lens is clean (a quick swipe with a microfiber cloth does the trick). It’s surprising how much a smudge can mess with a shot. A small setup, like a ring light and tripod, fits nearly anywhere, so kitchen floors, bedrooms, and living rooms can all turn into your own mini photo studio.
Setting Up Your Space for Clean, Attractive Shots
The background and floor make a big difference in how the whole photo feels. I usually start by making sure the space is tidy, with no stray socks or old rugs. A smooth, uncluttered backdrop keeps the attention on your subject. That might mean a plain wall, a soft blanket, or even a big piece of white poster board taped to the floor. Soft, light colors work really well since they reflect extra light and look fresh in photos.
If you want to get a little creative, small props like fresh flowers, stones, or textured fabrics can add style. Just keep it simple so it doesn’t pull focus from the feet themselves. I sometimes try a reflective floor panel or a soft furry rug—either can look a bit more upscale with barely any effort.
When choosing your space, pay attention to where daylight falls at different hours. Sometimes moving just a few feet closer to a window really gives a boost to your final image, and you might stumble upon a corner in your home with surprisingly good lighting. It’s also worth looking around and testing a few background options before you jump into shooting.
Lighting Tricks for Pro-Looking Foot Photos
Lighting is easily the most important thing for sharp foot selfies or product-style shots. Bad lighting can ruin even the best composition. Here are a few foolproof tricks I rely on:
- Shoot in Natural Light: Morning or late afternoon brings in soft, flattering light. Set up near a window for a gentle glow that won’t cast hard shadows.
- Use a Ring Light: Cloudy day? No problem. A ring light gives super even lighting. Point it straight at the subject or bounce the light off a nearby wall for a softer look.
- Avoid Overhead Lights: These can cause odd color casts and harsh shadows. If overheads are on, I switch them off, relying on the ring light or window instead.
I always check for shadows on the sides or underneath the feet—sometimes just shifting the light one foot left or right makes a huge difference. Move around, snap a few quick test pics, and adjust until everything looks bright but still natural. If your window light is too direct, a sheer curtain can help diffuse it for that soft, eye-catching effect.
Best Angles and Framing for Foot Photography
Every foot is different, so experimenting with angles helps you figure out which ones look best. Changing the height or tilt of your phone changes the whole vibe of a photo. Here’s what works for me:
- Straight On from Above: Placing the phone right above the feet (perpendicular to the floor) gives a simple, strong look. This works really well for symmetry.
- Low Angle (at Toe Level): I’ll prop the phone close to the floor pointing toward the toes. This angle gives a sense of length and drama, plus it highlights painted nails or accessories.
- Slight Tilt: Tilting the phone a bit, maybe 15–30 degrees, flatters the shape and can make arches or ankle jewelry pop.
- Detail Close Ups: A macro lens or phone’s built-in portrait mode gets up close, showing skin texture, polish, or rings.
I always leave a bit of space around the feet in the frame. Cropping too tight can feel cramped, so giving the shot some breathing room often feels more polished, even if I crop it down in editing later. After years of shooting, I’ve realized that reframing slightly and leaving room at the edges often makes your photos feel more professional and purposeful.
Easy Posing Tips Anyone Can Use
You don’t need model-level skills to get great poses. Little tweaks go a long way. Here are some poses that look great in photos:
- Relaxed Toes: Spread your toes slightly and evenly, not stiff. This feels natural and makes feet look relaxed.
- Crossed Ankles: Gently cross one ankle over the other, which feels laidback and flattering from above.
- Point or Flex: Pointing the toes gently or flexing (not overly) shows off arches and makes the shot more dynamic.
- Prop Up: Prop heels onto a rolled-up towel or small pillow to give a lifted look and make toes stand out.
- Accessorize: Toe rings, anklets, or even cool nail polish can add detail and tell a little style story.
Switching things up between shots keeps a session from looking stiff or “copy/paste.” Sometimes I even doodle quick poses on paper as a guide for what I want to try next. Sitting down, stretching legs out, or standing with just the toes peeking in the frame all have different feels, so no need to stick to just one pose. If you’re feeling self-conscious, it can help to look at some inspiring photos online beforehand and mimic the ones you like best until you grow your own posing style.
Beginner Friendly Photography Tips
Shooting with a smartphone is very forgiving. I always make sure I’m using the highest possible image quality in the camera settings—usually “HDR” or “Pro” mode if the phone has it. A couple of my go to tricks:
- Tap to Focus: Tapping the screen right on the toes ensures the focus stays sharp where it matters.
- Lock Exposure: Most phones let you hold a finger on the screen after focusing. This locks both the focus and brightness for an even shot.
- Use a Timer or Remote: Most tripods come with remotes, or you can use your phone’s 3–10 second self-timer. That way you can set up a pose before the shot goes off.
- Take Lots: Don’t stop at just a couple pics; take lots from different angles and with different lighting, then pick your favorites.
Editing is where smartphone photos can really improve. Using the built-in photo editor or something like Lightroom Mobile, I’ll bump up brightness and sharpness just a bit, and crop any clutter. Resist the urge to over-edit though—natural still looks best. Sometimes an eye-catching shot just needs a little touch up in color and contrast to stand out on your feed or portfolio.
Common Mistakes to Avoid
I’ve made just about every beginner mistake there is, so here are a few things that are easy to sidestep:
- Cluttered Background: Random stuff in the back pulls attention away from the actual photo subject. A clean background makes a huge difference.
- Harsh Shadows: Strong sunlight or a single light source can cause funky shadows. Move around until shadows look soft or bounce light from a second source, like a white wall or board.
- Weird Color Casts: Sometimes carpet, wall color, or artificial lights add odd tones. Neutral props and natural daylight avoid this problem.
Reshooting a few times and doublechecking before you’re done helps catch issues. It’s way easier to retake a photo than to fix certain mistakes with editing. Also, don’t be afraid to ask a friend for a quick opinion on your shots—sometimes another pair of eyes helps spot something you’ve missed.
Frequently Asked Questions
Here are a few questions I hear the most from people just starting out with foot photography:
How can I make my feet look their best in photos?
Simple prep goes a long way. Clean, moisturized skin, trimmed nails, and maybe a dash of lotion make feet look healthier and more photogenic. If you want to hide blemishes, a little makeup (or gentle retouching later) works wonders. Even buffing nails and using a little cuticle oil gives a nice finish.
What’s the best time of day to take foot pictures?
Natural daylight, especially morning or late afternoon, gives the best results for skin tones and soft shadows. Overcast days are even better since the light’s diffused and less harsh. I always aim for this kind of light when planning a shoot.
Can I use just my phone, or do I need extra lenses?
Most smartphone cameras today are plenty capable on their own. Extra clip-on lenses open up more creative angles but aren’t required if you’re just getting started. If you do want to get into macro or wide-angle shots, lens add-ons can make it easy to experiment without breaking the bank.
Key Takeaways for Beginners
Shooting foot photos with a smartphone is 100% doable with the right prep and a few affordable add-ons. Clean up your space, get the lighting right, play around with angles, and practice a few simple poses. Using a ring light, tripod, or extra lenses can really make your shots look more put together even if you’re brand new. Experiment, have some fun, and you’ll be surprised at what your phone can do! Take a few risks with different settings, try a couple new props, and before you know it, you’ll find your stride.
Getting professional looking foot photos starts with trying new setups, learning little tricks, and being open to mistakes along the way. Every shoot is a chance to find your style and get results worth sharing, or even selling if that’s your goal. And as you keep shooting, you’ll get more comfortable and creative, building up a gallery you’ll be happy to show off anywhere.