Foot photography has become a popular way to show off style, nail art, or just a unique angle for a creative profile. When I started experimenting at home, I realized that lighting was way more important than I thought. Getting those crisp, eye-catching shots isn’t about having fancy camera gear, but knowing how to light your feet makes a huge difference. I’m sharing some lighting hacks that help highlight every curve, color, and detail for vibrant at-home foot photos.
This post may include affiliate links. If you purchase through them, I may earn a small commission at no extra charge to you. For details, see my affiliate disclosure.
Why Lighting Matters in Foot Photography
Lighting makes or breaks any photo, but with foot photography, it really brings out texture and color. Harsh shadows or yellowish lights can take away from the charm. Good lighting helps show off clean skin, fresh nail polish, or stylish shoes without weird glares or dark spots. Whether you’re snapping pics for social media, a blog, or your own fun, knowing how light affects your photo helps you get those professional-level shots with whatever camera or phone you’re using.
More people are turning to at-home foot photography for personal brands, health tracking, or creative outlets. Even brands look for sharp, well-lit images for promo campaigns. The rise of DIY studios, plus affordable lighting tools, means professional-looking images are super achievable from your living room. If you want to get creative or just want consistent results, understanding lighting gives every shot a boost.
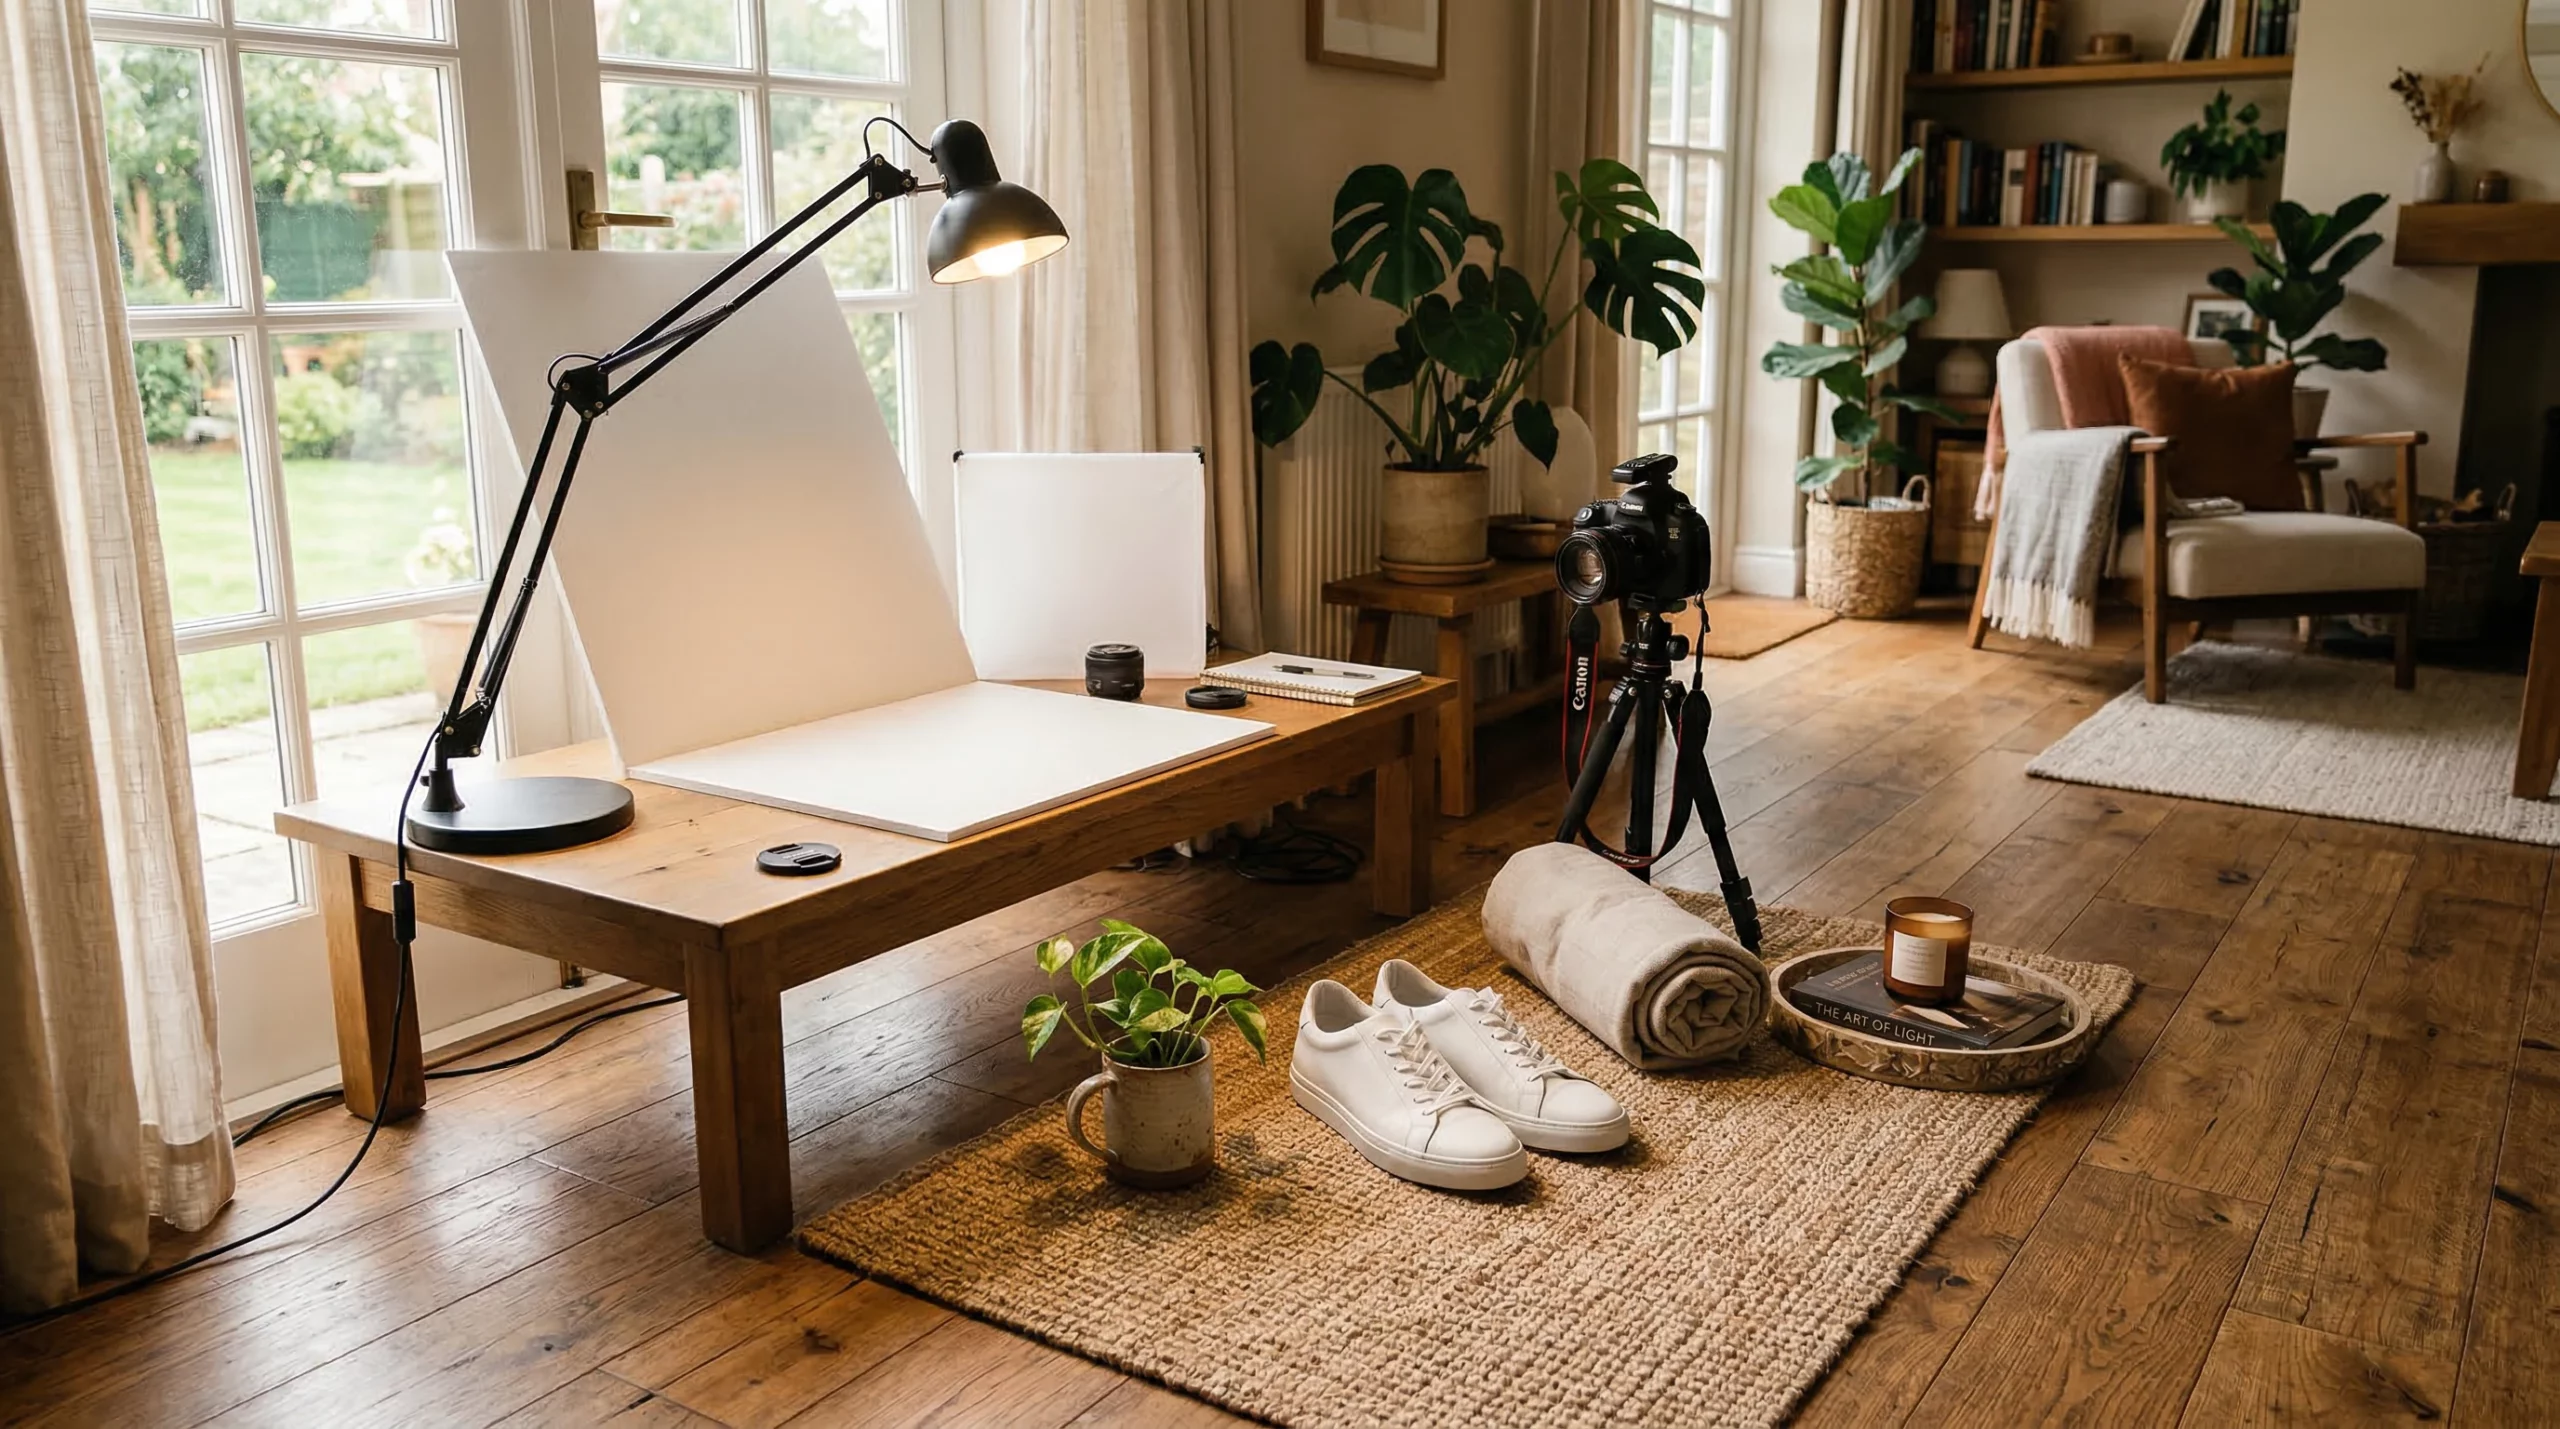
Starter Lighting Gear You Can Use at Home
You don’t need to spend a ton to step up your lighting game. Most foot photos can be taken with stuff you already have around the house. Here’s a list of useful starter lighting:
- Natural Light from Windows: Free and flattering. A north or south-facing window gives bright, soft light without direct sun glare.
- Household Lamps: Move a couple of lamps around for extra brightness. Try table lamps or adjustable desk lights for different angles.
- Ring Lights: Handy for phone pics, these give an even circular glow. You can find versions with adjustable colors and brightness.
- LED Light Panels: Compact, adjustable LEDs are great for fine tuning your scene.
- Reflectors: Don’t have a reflector? A large piece of white poster board or even a baking tray does the trick.
For best results, keep your setup simple and consistent. You’ll start noticing which lights help add a polished finish without overcomplicating things. Get creative by mixing in household objects—a desk lamp or even a smartphone flashlight—since they can work wonders when used right.
Lighting Techniques That Make a Difference
After lots of trial and error, some lighting setups work better than others for feet. Here are a few techniques I’ve tested that give awesome results:
Use Diffused Light
Direct overhead bulbs throw harsh shadows on skin and floor. I usually put a sheer curtain or a thin white sheet over a window or lamp to soften light, smoothing out skin and reducing glare. This hack is super important if you want that clean, editorial look.
Try Side Lighting
Light coming from the side, rather than head-on, gives your photos more depth. You’ll see gentle shadows that highlight arches, painted nails, and shoe details. Place your lamp or light source at a 45 degree angle to your feet for a bit more drama without being too harsh.
Play Around with Backlighting
Setting a backlight behind your feet can create cool silhouettes, or add a glow along the outline. This works best with a bright window or an LED panel set low. To avoid losing detail, use a reflector or a lamp from the front to fill in shadows.
Bounce and Reflect Light
When parts of your photo look too dark, I find that propping up a white board or a piece of tin foil across from your main light helps bounce it back, brightening the scene without adding extra lamps. Sometimes, even a light colored pillow can work as a makeshift reflector.
Experiment with Color Temperatures
Different lightbulbs cast different color tones. Daylight bulbs (around 5500K) keep skin tones looking true to life. If your bulbs give off a yellowish cast, mix in some daylight from a window or swap your bulb to get natural, balanced colors.
Use Floor Textures and Props
Your floor or setup plays a big role in how light bounces around. Lighter floors reflect light, while darker ones absorb it for a moody vibe. Fun props like patterned rugs, soft throws, or reflective surfaces like tiles help direct more light onto your feet and add visual interest.
If you like to change things up, try shooting at different times of day—each offers unique lighting. Early mornings bring soft, cool light while evenings have warmer golden tones that pair beautifully with skin and nail colors. Play around and see what suits your style best.
Common Challenges and How to Fix Them
Foot photography comes with its own little set of headaches, but you can fix most with the right lighting tricks.
- Shadowy Toes or Ankles: Add a reflector or bounce board opposite your main light. If shadows are still tough, try a lamp at a different angle.
- Overexposed or Washed-Out Colors: Move lights back or add more layers to soften the bulbs. Try using dimmable LEDs so you can control the intensity.
- Unwanted Reflections on Polished Nails: Angling the light slightly to the side instead of above cuts back on shine. You can also adjust your foot position until the glare disappears.
- Uneven Light with Multiple Bulbs: Stick to the same bulb type and color temperature. Mixing cool and warm bulbs often makes skin look weird.
Managing Low Light Conditions
Sometimes the weather just isn’t cooperating, or you’re shooting at night. In these cases, crank up your ISO a bit if you’re comfortable with camera settings, or bring your lamps closer. Even smartphone cameras do better with a little extra brightness, so don’t be afraid to pile on lamps and bounce boards. Adding a small desk lamp with a white shade can make night shots pop without harsh shadows.
Tips for Creating a DIY Lighting Setup
There’s no need for a full photo studio to take Insta worthy foot photos. Here’s my quick home setup that works every time:
- Clear the Space: Pick a spot near a window for soft daylight. Lay down a clean surface (rug, blanket, or even colored paper) to keep the focus on your feet.
- Gather Lights: Combine one lamp on each side, angled towards your feet, with natural light from a window for an even effect.
- Add a Reflector: Place a white board or tray at your feet’s far side, bouncing light back onto your toes to fill harsh shadows.
- Watch for Angles: Snap test photos and adjust how far your lights are, the angle, or add diffusers (like a pillowcase or thin towel) to soften brightness.
- Check Your Phone Settings: Most smartphone cameras now let you tap to adjust exposure. Brighten or dim before snapping to make the lighting pop just right.
Swapping out different lamp types and testing various backgrounds is a really fun way to get creative and see what works for your vibe.
Pro Level Foot Photography Tricks
Ready to take things up a notch? Here are a few extra tricks that help my home foot photos stand out every time:
- Golden Hour Glow: Morning or late afternoon window light gives a cozy, warm vibe; no filter needed. Schedule your sessions to catch these natural light perks.
- Use Gridlines for Framing: Turning on gridlines helps you snap feet dead center or line them up with interesting floor patterns, adding style to every shot.
- Edit Gently: Brightness or contrast tweaks in free editing apps even up your lighting and color. Avoid overediting, especially if you want your foot photos to look natural.
- Try Colored Gels or Fabrics: Add a thin colored sheet or plastic wrap over your light for creative effects. This is a simple way to make nail colors pop or give your scene a completely new mood. Get playful with different colors and see how they change your photo’s vibe.
The Basics: What Lighting Equipment Should You Focus On?
When you’re just getting started, pick one good main light and a simple reflector. LED panel lights with adjustable brightness are super flexible and long lasting. If you like snapping foot photos for social media or creative projects, a ring light helps keep things easy and consistent.
Setting up near a big window instantly boosts your image quality. Even during cloudy days, window light acts like a giant softbox, which means less fuss in post editing later.
- Natural Light: Soft, flattering, and free. Just position yourself to avoid direct glare.
- LED or Ring Light: Offers even coverage and control indoors, rain or shine.
- Reflectors: Bring out details in skin, shoes, or nail art with bounce boards or plain white poster paper.
Frequently Asked Questions
Here are some common questions I get from people starting foot photography at home:
Question: What’s the cheapest way to get good lighting for foot photos?
Answer: Use daylight from a window and a piece of white cardboard as a reflector. If you shoot at night, add a table lamp with a white shade. Aim for daylight style bulbs for the most natural look.
Question: How can I avoid weird yellow or blue tones?
Answer: Stick to bulbs labeled “daylight” (around 5000K) and turn off other light sources that have a different color temperature.
Question: My feet always look shadowy. What should I do?
Answer: Use a second light or a reflector to fill shadows. Try moving your light source higher or closer until the shadows even out, and experiment with the camera’s exposure controls for a custom result.
Your Takeaway
Lighting is really important for sharp, vibrant foot photos at home. Start with window light, tweak with household lamps or cheap LED panels, and use reflectors for balanced shadows. Simple hacks, like diffusing your light or using creative backgrounds, can give your photos that professional touch. The more you experiment with angles, props, and setups, the more original your shots will look. Happy snapping!