Edible oil foot photography is a creative hack for making your foot photos look glossy, eye-catching, and totally unique. It’s easy to learn, doesn’t require expensive gear, and adds a shimmery, pro-level vibe that can help your foot content stand out on busy marketplaces. Buyers are drawn to glossy foot photos because they just pop more than the usual dry or plain shots. It’s a simple upgrade that helps your content attract more eyes (and dollars) without a ton of extra work.
Why Use Edible Oils for Foot Photography?
Glossy foot photos just hit differently. A little edible oil turns your soles into a smooth, camera-ready canvas. Your feet start glowing and catch the light in ways no plain lotion ever could. Buyers tend to notice those neat little details: sheen, glimmer, and how the oil makes the shape and texture of your feet pop. Unlike regular lotion, edible oils add a subtle look that feels more high-end, and you can get creative with techniques and styling.
- Extra Gloss: Oil reflects light beautifully, making arches, heels, and toes stand out.
- More Texture: Oils play up skin texture and bring out soft lines and curves, boosting the 3D feel.
- Instant Uniqueness: Oil-centric shots are still a little unexpected, making your portfolio more memorable.
- Easy to Style: Oils can be applied in countless ways, from controlled, sophisticated looks to playful, messy drips for themed shoots.
For people selling foot pictures, that extra pop often translates to more engagement and better sales. People love visuals that look a bit extra without feeling overdone.
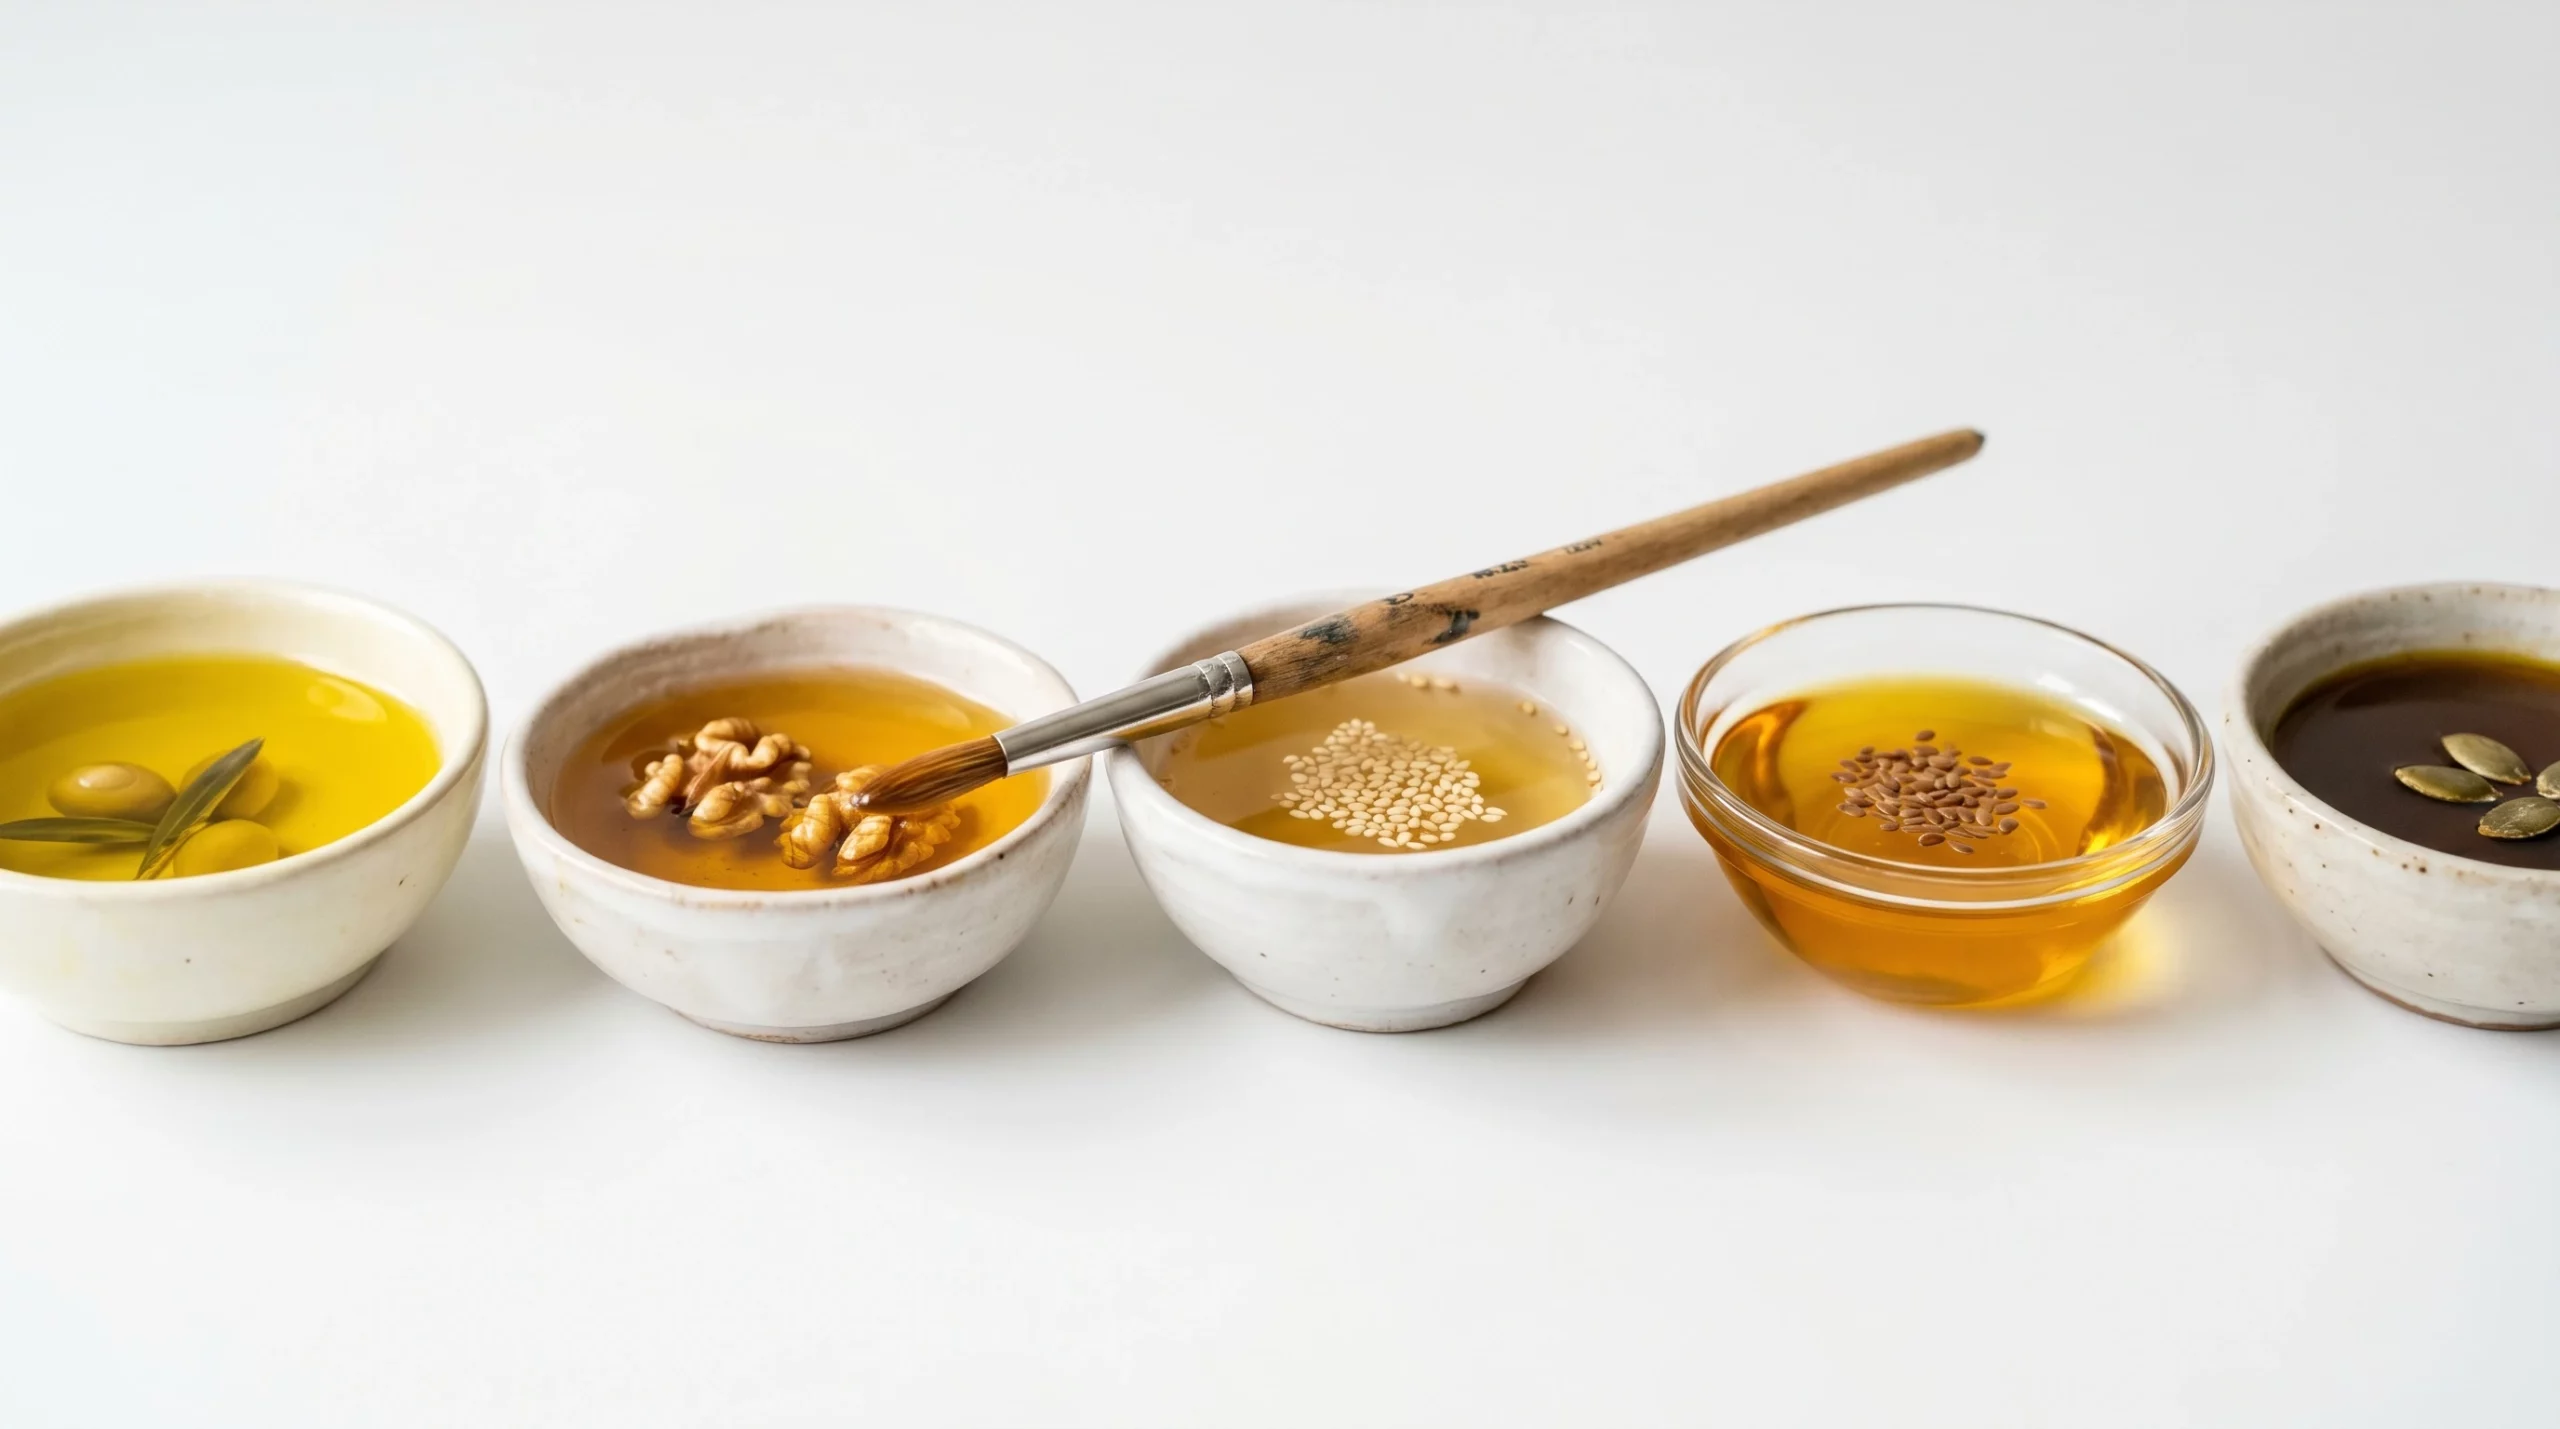
Best Edible Oils to Use
Not all oils create the same finish or vibe in your shots. Here’s a quick rundown on the most popular edible oils and how each works for foot photography:
- Coconut Oil: Slightly thicker, melts on skin, gives a mega-glossy, glassy finish. Perfect for slick, high shine looks, especially when you want the oil to stay put longer. Bonus: it smells amazing.
- Olive Oil: A lighter oil with a subtle shine that looks more natural and soft. It won’t overwhelm with gloss and works well for shots that aim for a laid-back, candid vibe.
- Avocado Oil: Smooth and gentle, this one gives a silky sheen without being too oily or sticky. It’s kind to sensitive skin and fades into a subtle, moisturized look.
- Vegetable Oil: Cheap, easy to find, and quite neutral. It provides decent shine and works when you’re experimenting or want variety on a budget.
Each oil has a slightly different texture and level of shine. Coconut oil is my favorite for full-gloss drama, but olive oil is super nice for low-key, lived-in foot photo ideas. Try them all to see what style clicks with you.
Prepping Your Feet for the Best Results
Getting smooth, glossy foot shots starts with a little prep. Taking an extra 10–15 minutes here literally makes every photo look more professional, especially in closeups. Here’s my go-to routine before I paint on any oil:
- Wash Your Feet: Use gentle soap and warm water to remove buildup, oils, and old lotion.
- Exfoliate: A foot scrub, pumice stone, or even a wet washcloth helps smooth rough spots.
- Moisturize: Lightly hydrate with an unscented lotion about 10 minutes before applying oil. This keeps the look soft and stops patchiness.
- Nail Care: Make sure toenails are trimmed, clean, and (if you want) gently polished or left natural.
When your feet are clean and smooth, oil goes on more evenly and shines better. Blot off any excess so toes aren’t too slippery before you start painting.
How to Paint with Oil (Techniques That Look Good on Camera)
This is the fun part: actually, painting your soles and toes with oil. Don’t worry, it’s definitely beginner-friendly and you don’t need to be an artist for this to look great.
- Brush Technique: Use a clean, food safe brush for even, controlled strokes. (A makeup or pastry brush works great.) This style is helpful for adding shine just where you want, like high arches or heels.
- Drip & Drop: Drizzle oil directly onto your feet for an artsy, playful vibe. Let the oil pool or drip naturally. It photographs really well for spontaneous shots.
- Hand Blending: For an allover glossy look, use your fingers to massage oil into every curve and line. Go heavier on the high points—arches, toes, and heels—for extra shine in the shots.
Keep some paper towels, soft cloths, and a mirror nearby for quick cleanup and checking symmetry. That way, the shine stays even and the look comes out on point.
Adding Color for More Creative Shots
Tinting edible oils opens the door to creative foot photography. You can mix small amounts of food-based powders into your oils for hints of color. This is perfect for themed shoots or adding drama; just make sure everything is safe for skin.
- Turmeric: Adds a warm golden tone, gorgeous for sunset-inspired themes. (Test it first, since it can lightly stain skin.)
- Cocoa Powder: Brings a chocolatey, earthy vibe, great for dessert or spa concepts. Use just a pinch to avoid clumping.
- Beet Powder: Gives a rosy, blushed glow, awesome for romantic or spring themed ideas.
- Oil-Based Food Grade Coloring: A rainbow of color at your fingertips to match any style or palette.
Blend tiny amounts into your chosen oil until you hit the color you like. Your feet will shine with a custom tint buyers haven’t seen before. This is a favorite trick for making foot photo content really eye-catching.
Lighting Tips for Glossy Foot Photos
Lighting can make or break glossy shots. The goal is to make the shine pop but not blow out the skin or create harsh glare. Here’s what works every time:
- Soft, Diffused Lighting: Window light through sheer curtains or a softbox creates gentle highlights that enhance the oil and skin.
- Avoid Camera Flash: Direct flash usually causes glare. Stick to natural or diffused light for a dewy look.
- Angles Matter: Tilt your foot and the camera so the light glides smoothly across the skin. You want stretched, soft highlights rather than shiny spots.
Take a few test shots and zoom in to see if any areas look too shiny or uneven. After some practice, you’ll be able to spot the right angles and lighting to really give your foot pictures a boost.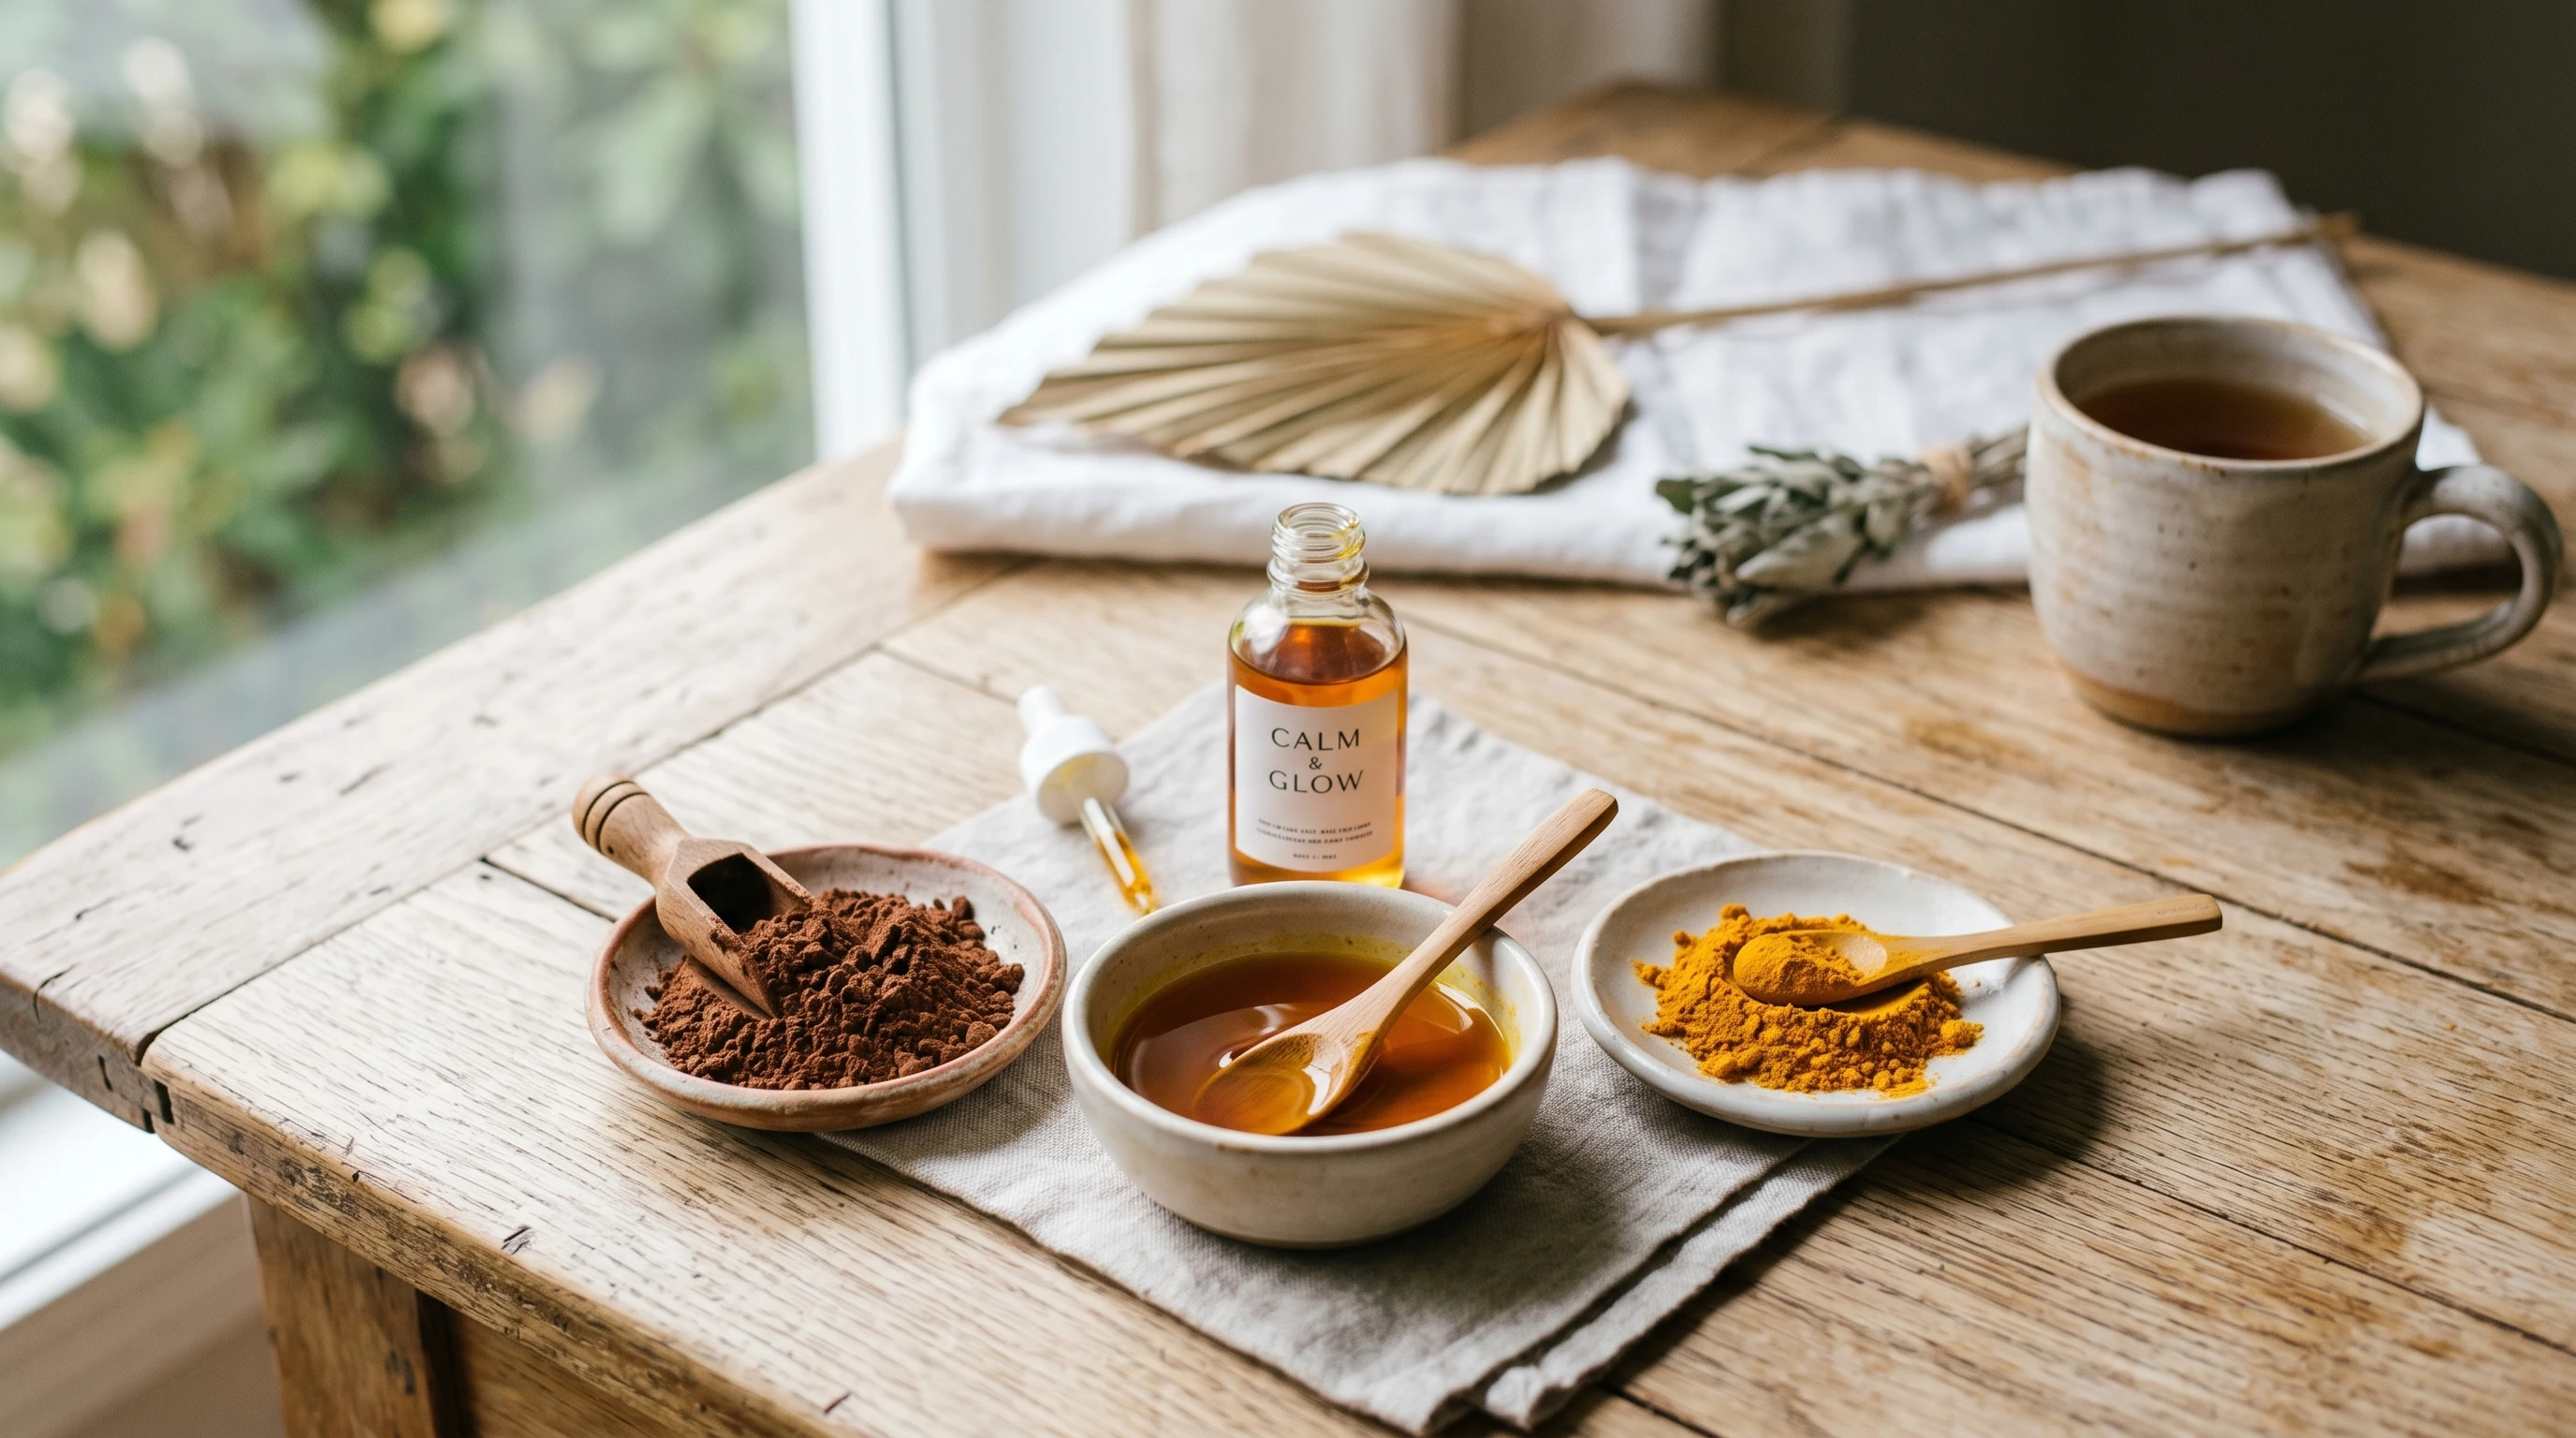
Creative Photo Ideas & Themes
When you start using oils, themed foot photography gets a new twist. Here are some creative foot photography themes you can try—adapt them for your vibe or your audience’s interests:
- Spa Day: Pair oily soles with pebbles, flowers, or plush towels for a luxe, relaxing setup.
- Dessert Drizzle: Use cocoa-infused oil, chocolate pieces, or a dessert theme for a playful approach.
- Kitchen Vibes: Shoot near baking tools, a breadboard, or bundles of herbs. This gives your foot content a cozy, homey twist.
- Minimalist Close-Ups: Focus on glossy arcs, toes, or natural lines for artsy shots that make skin detail and shine the star.
Experiment with props, backgrounds, and how you pose your feet in the frame. Sometimes the simplest setups with glossy oil stand out as the most unique and refined.
Safety & Cleanup Tips
Painting your soles with edible oils is fun, but safety and tidiness are essential. Here’s how to keep things smooth and stress-free:
- Prevent Slipping: Always lay down a towel or non-slip mat when shooting and sit for oil application, so feet aren’t skating on hard floors.
- Watch for Stains: When using colored oils, patch test first and cover surfaces to prevent accidental stains.
- Patch Test New Ingredients: Before using a new oil or powder on your soles, dab a bit on your wrist or ankle to check for reactions.
- Cleanup: Wash with warm water, gentle soap, and a soft cloth. Baking soda helps remove stubborn tinted oils. If you’re reshooting, blot off excess instead of scrubbing skin between takes.
This little bit of prep makes it easy to enjoy the creative process while keeping your space and skin in great condition.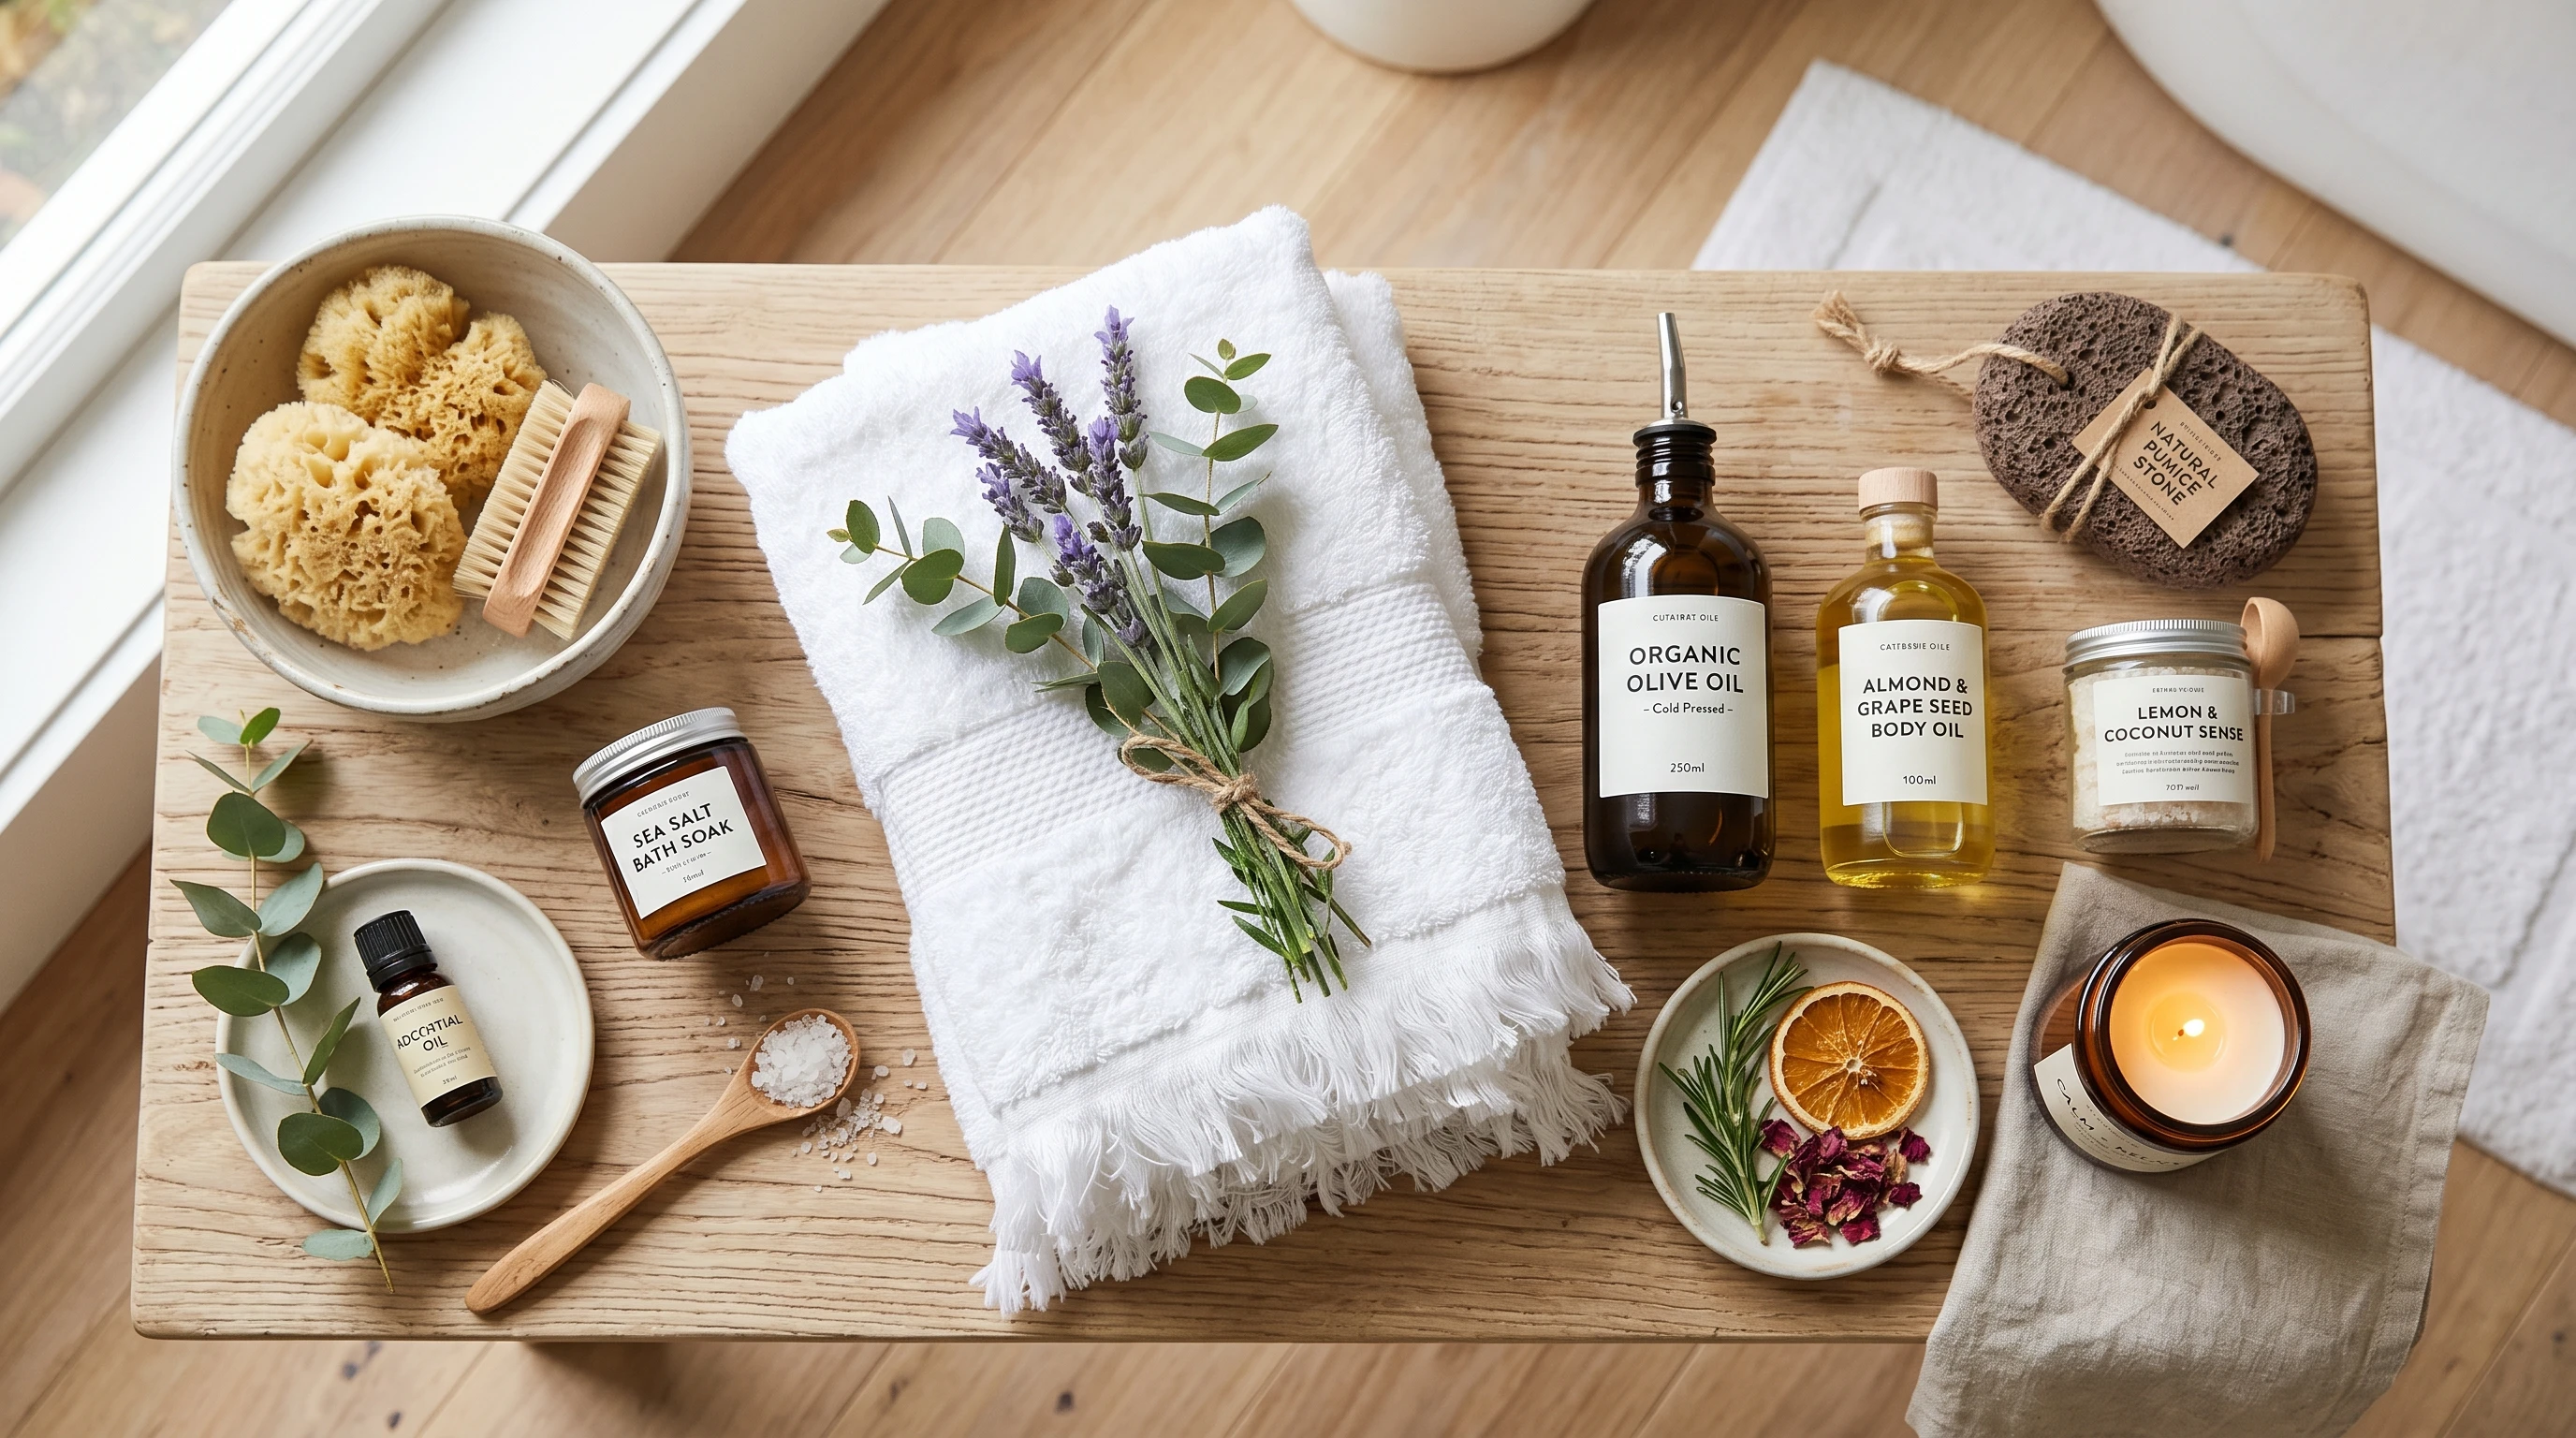
Frequently Asked Questions
These are the most common foot photography questions I get with this technique:
Question: Can I use any kitchen oil for glossy foot photos?
Answer: Use fresh, high-quality oils that are good for your skin or safe for food. Skip oils with odd additives or rancid smells, and never use out-of-date oils—aim for pure and safe for the best results.
Question: Will oil make my foot content more appealing to buyers?
Answer: Absolutely! Glossy, well-lit foot photos tend to look more polished and instantly draw attention. Buyers often pay more for creative, aesthetically styled pictures.
Question: Do I need expensive equipment for oil foot shoots?
Answer: Not at all. A basic camera or your smartphone, a good light source, and a bottle of oil are all you need to get started.
Your Takeaway
Edible oil foot photography is a game changer if you want to make creative foot content and boost your sales. Painting your soles with oil is quick, affordable, and lets you play with endless styles and ideas. Start simple, be safe, and enjoy turning ordinary shots into glossy, eye-catching foot photography that stands out. If you’re ready to step up your foot photo content, grab some oil and see where your imagination leads!
Related Articles
Creative foot art projects can add a unique visual element to your content and help inspire new photo ideas. Explore these guides for more creative themes, styling inspiration, and content creation techniques.