If you’ve ever looked at foot photos on social media or selling platforms and wondered how they look so clean and eye-catching, that’s editing doing its job. Editing foot photos for beginners isn’t just about making them look pretty. It helps you present your feet in the best way, shows off details, and gives your work a polished, professional touch that can make a real difference if you’re hoping to attract followers or customers.
Why Editing Matters in Foot Photography
Editing foot photos for beginners gives your content that extra pop people notice when scrolling. Whether you’re showing off fancy nail art, modeling fun socks, or creating content for platforms, editing helps:
- Remove distractions, such as messy backgrounds, shadows, or odd blemishes
- Highlight cool features, like sparkling jewelry or unique nail polish
- Create a consistent look (really important if you want to build a brand or following)
- Make sure your work looks great on both tiny phone screens and big monitors
Done right, editing feels invisible but makes your photos stand out for all the right reasons.
Common Beginner Mistakes When Editing Foot Photos
It’s easy to go overboard when you first start editing. Here are some of the most common beginner mistakes in foot photo editing:
- Turning skin orange or oddly pale with strange filters
- Making feet look blurry, plastic, or totally smooth (no one’s skin actually looks like that!)
- Oversaturating colors so details disappear
- Sharpening so much, it adds weird halos or harsh lines
- Cropping photos too tightly, cutting off toes or ruining the flow
- Leaving distracting objects, such as shoes, cords, or crumbs, in the background
Knowing these pitfalls helps you avoid them while you learn. As you progress, you’ll be able to spot and fix these mistakes even more quickly.
Basic Editing Principles Before Using Any Software
Photo editing isn’t about fixing everything after the fact. There are a few basic things I always remind beginners to do before opening any app:
- Try shooting in good natural light (morning or late afternoon windows work well)
- Wipe off your phone or camera lens every time. That’s the easiest editing trick!
- Spend 10 seconds framing your shot and removing stuff you don’t want in the photo
Getting a clean starting image makes editing way easier and helps prevent over-editing to “save” a bad shot. Even the best editors can’t fully cover up a poor original photo, so this step is key.
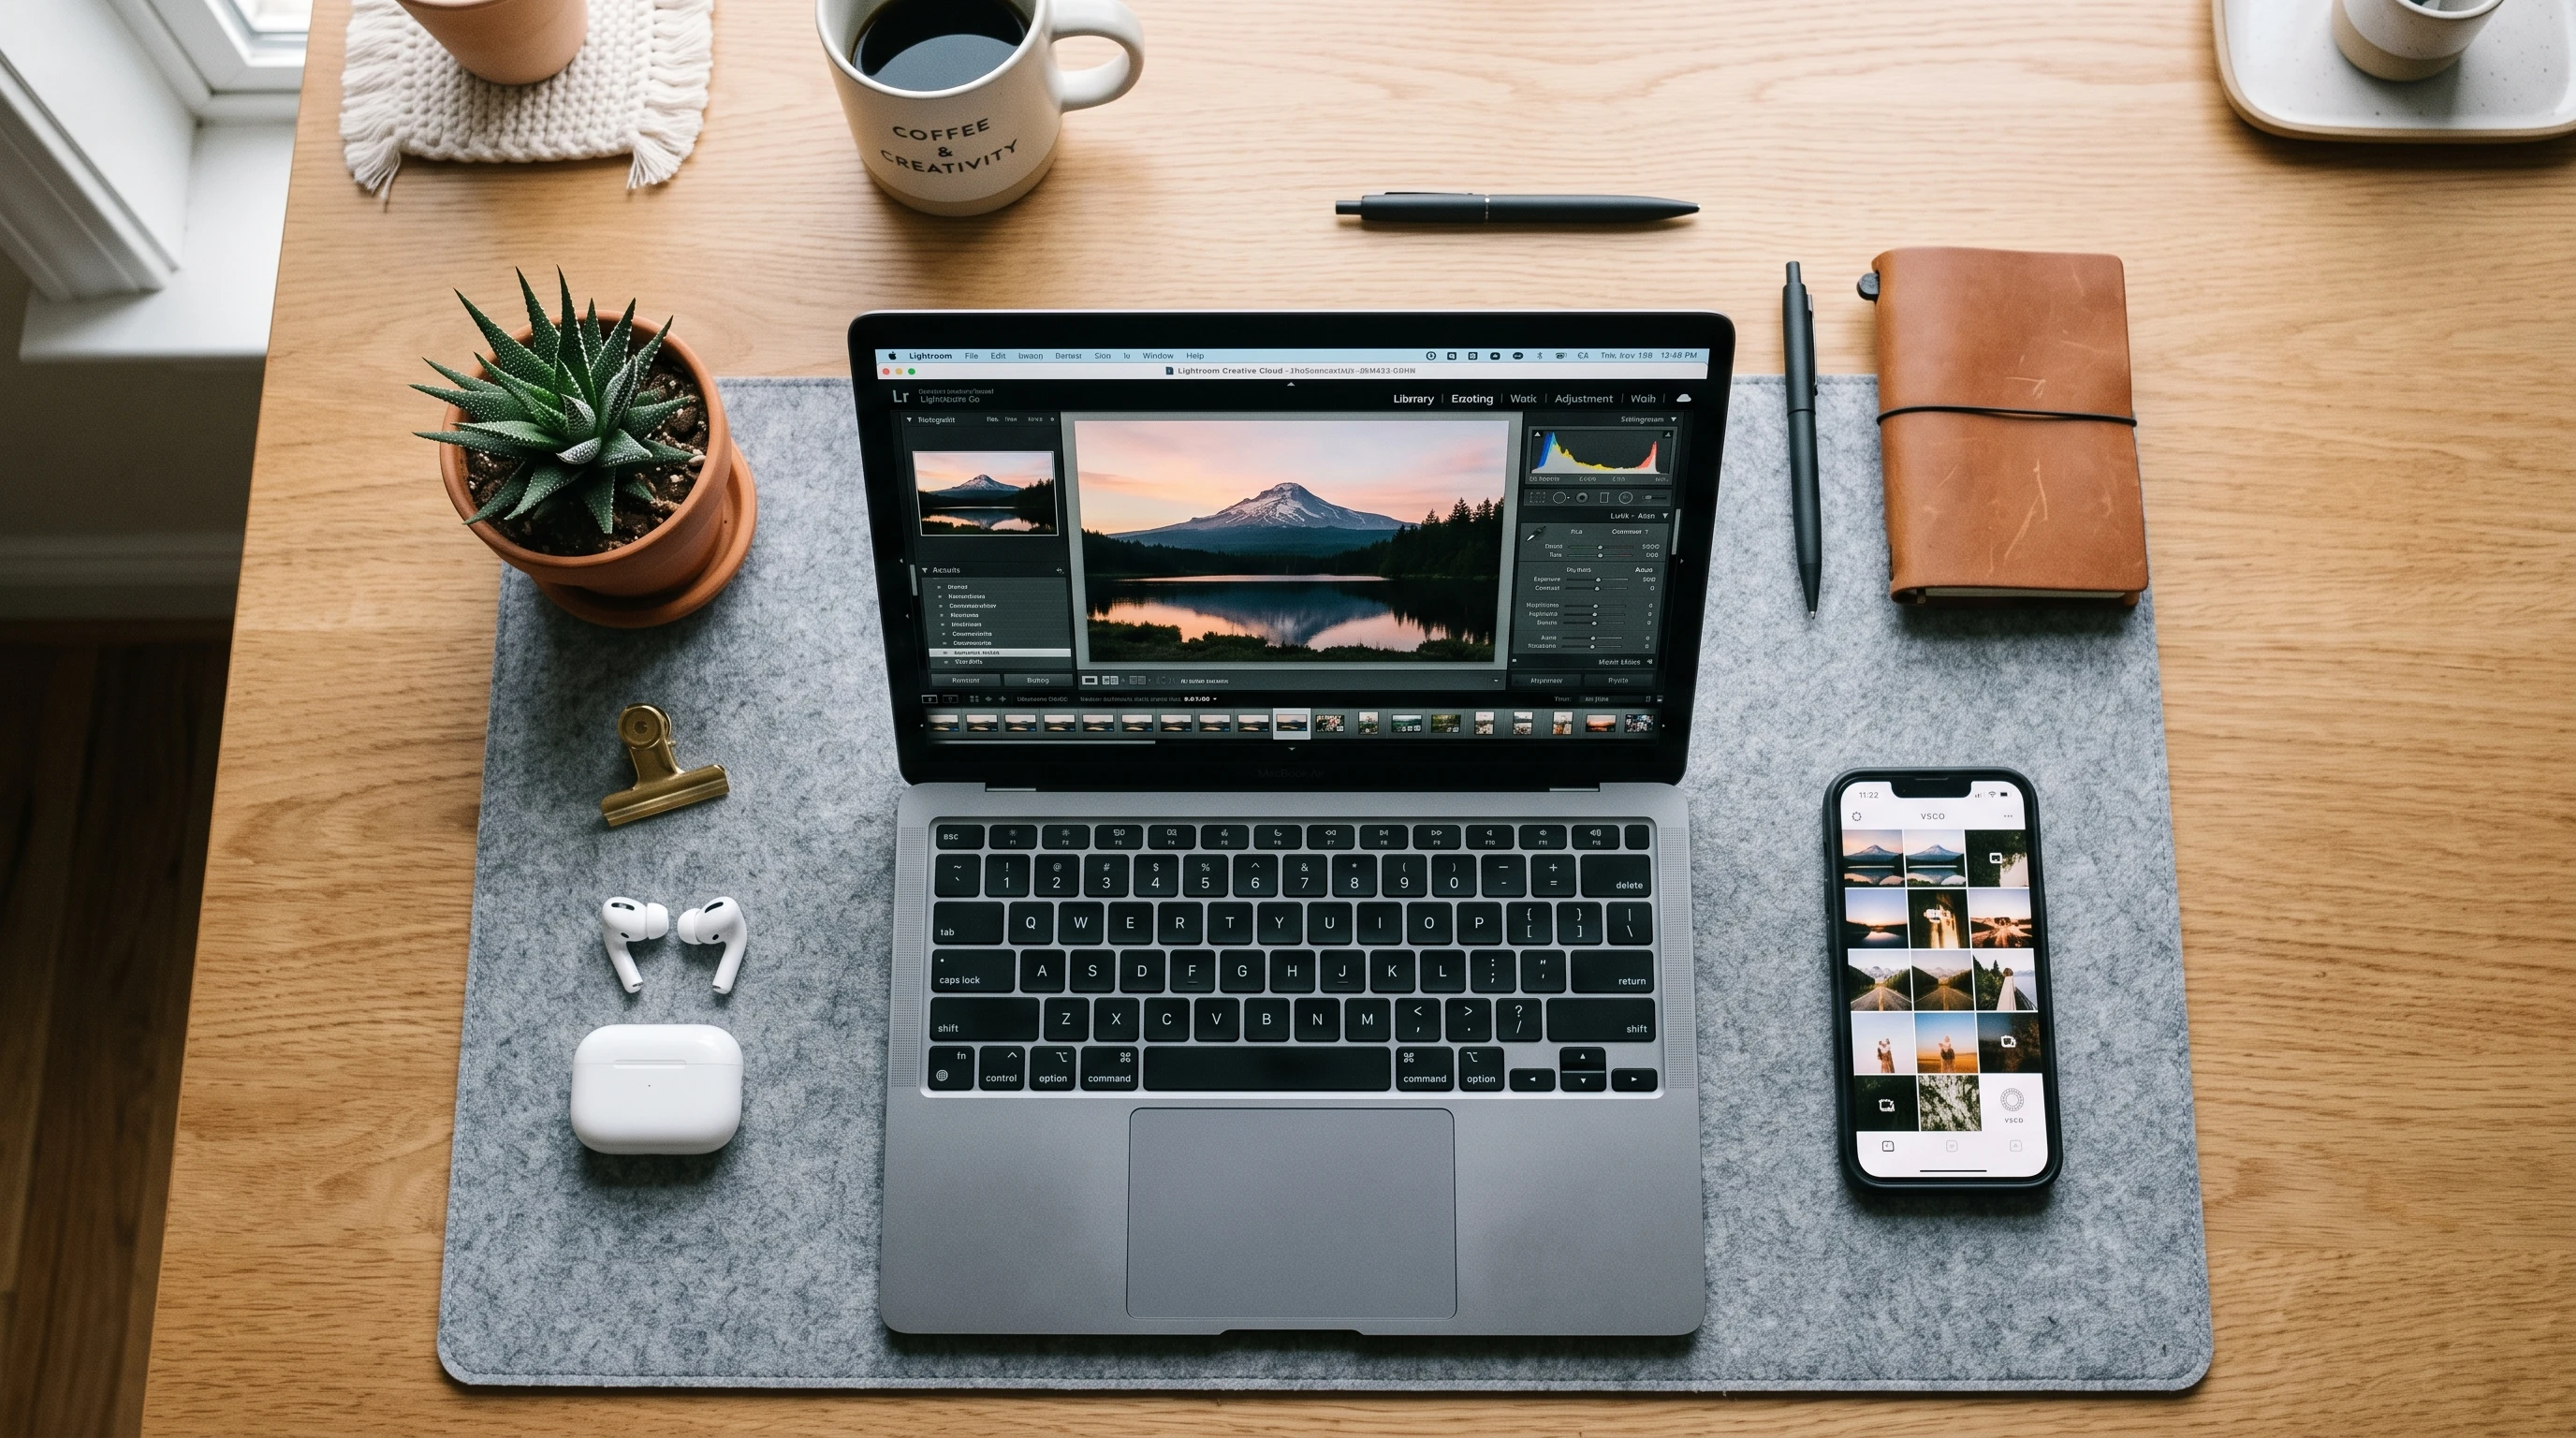
Choosing the Right Editing App or Software
Choosing the right app for editing foot photos for beginners depends on what device you use and how complex you want to get. Here’s a practical rundown of beginner-friendly foot photo editing tools:
- Adobe Lightroom (Mobile & Desktop): Handy for lighting, color tweaks, cropping, and organizing. Plenty of useful presets.
- Snapseed (iOS & Android): Packed with easy sliders and healing tools; popular for spot-fixing.
- Canva: Simple for collages, adding text, and fun backgrounds. Not as detailed for skin editing.
- Adobe Express: Quick edits, social media resizing, filters, which are super user-friendly.
- Apple Photos & Google Photos: Great for quick crops, basic brightness/contrast, and light blemish removal.
Most of these are either free or offer enough features for a beginner. If you move to pro work, Lightroom or Snapseed will let you grow your skills further.
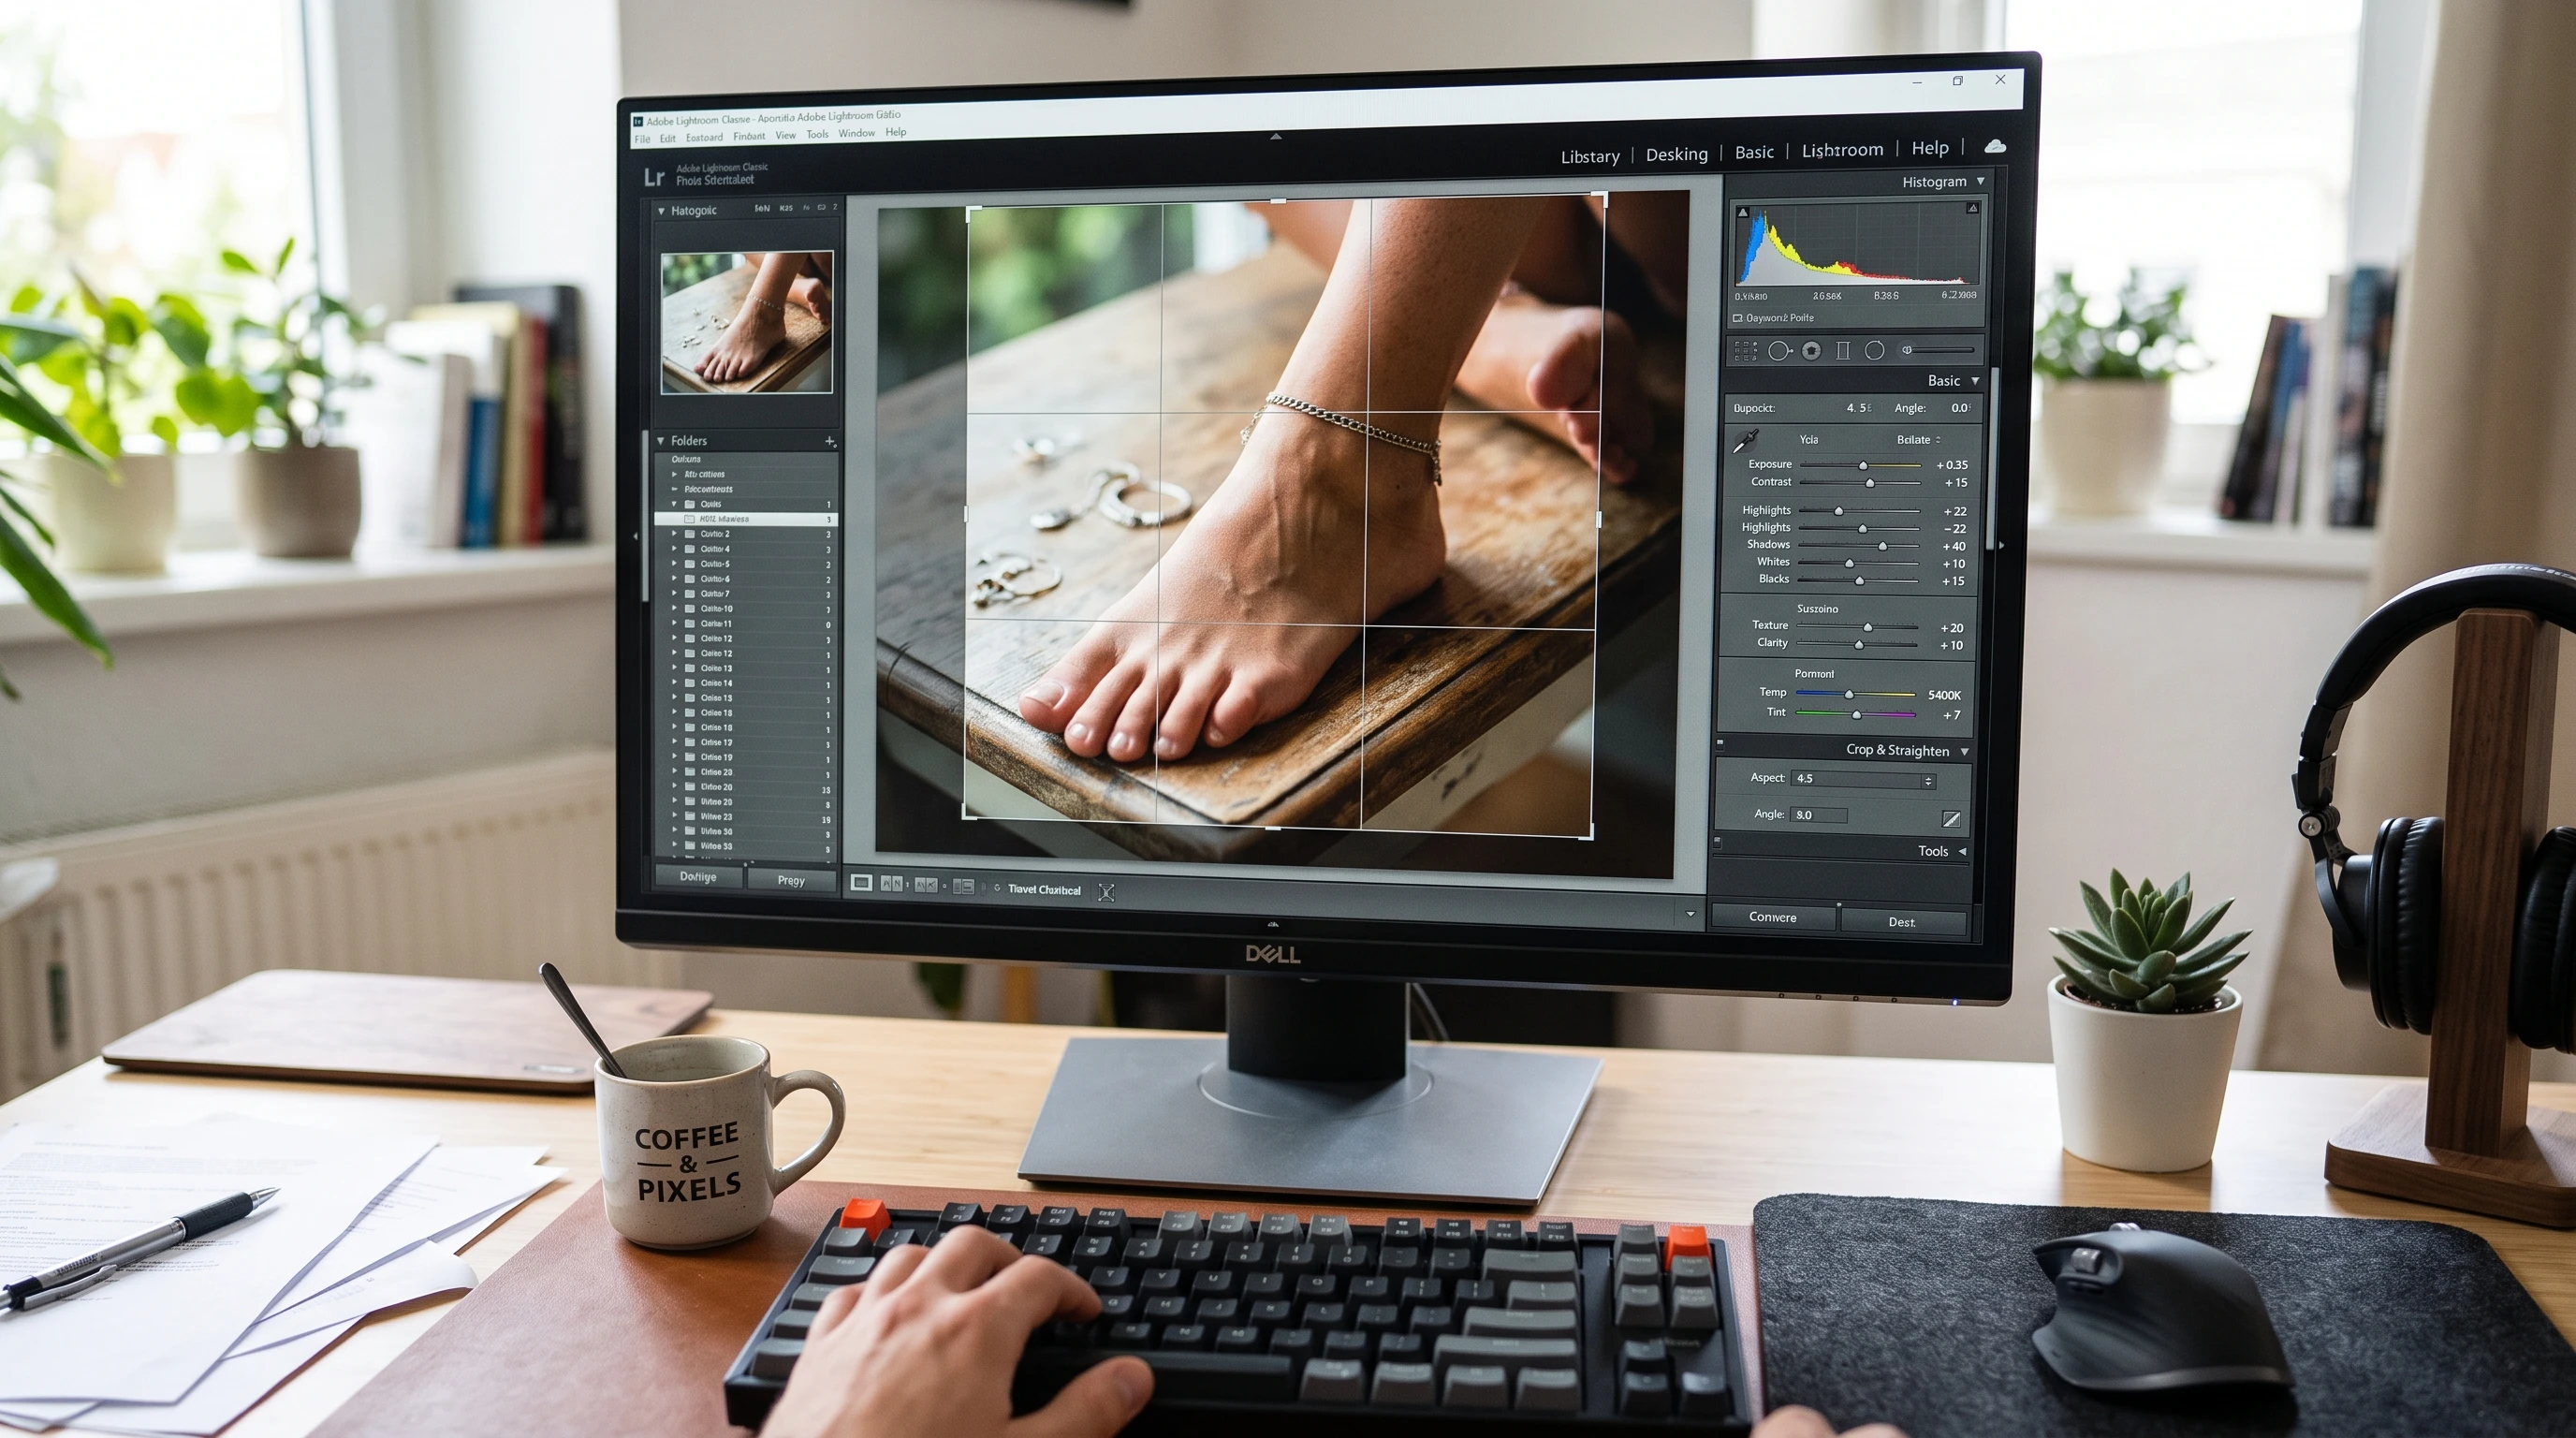
Photo Editing Essentials: Understanding the Tools
Getting to know the main editing tools stops your photos from looking weird or overdone. Here’s how I approach it:
Exposure Basics
Exposure controls how bright your photo is, but it’s different from just cranking up the brightness. Balancing exposure keeps shadows and highlights looking natural instead of washed out or too dark.
Brightness vs. Contrast
- Brightness makes the whole image lighter or darker.
- Contrast controls the difference between light and dark parts, adding punch or flattening the photo.
For foot photos, a small boost in brightness and contrast often makes the skin look fresher, but going too far can blow out details or add harsh edges quickly.
Highlights and Shadows
- Highlights are the lightest parts (top of the foot, nail shine, rings)
- Shadows are the darker areas (underside of the foot, spaces between toes)
Bringing down highlights and lifting shadows can recover hidden details. This is super useful if you shot in strong sunlight or shade.
White Balance and Color Temperature
White balance keeps your feet from looking too blue (cold) or too orange (warm). Adjusting the color temperature slider can make skin tone look more realistic. If things are feeling off, this is one of the first fixes to try in your editing app.
Saturation vs. Vibrance
- Saturation increases the intensity of all colors.
- Vibrance boosts only dull colors, which is more forgiving and natural looking.
I sometimes add a bit of vibrance to make polish or jewelry pop without making skin tones look cartoonish.
Sharpness and Clarity
Bumping up sharpness helps details stand out (like nail art or anklets). Clarity works differently; it enhances midtones and textures, so use it lightly on feet so you don’t highlight pores or lines too much.
Noise Reduction
If you shot your foot photo in low light, you’ll sometimes see grainy noise. Reducing noise can make things smoother, but too much can make the feet look plastic, so nudge it just enough to clean things up. Try to avoid using it heavily on all areas.
Improving Composition and Fixing Distractions
Clean backgrounds and solid composition play a big part in editing foot photos for beginners. Here’s what usually helps:
Cropping and Composition Improvements
Use the crop tool to:
- Zoom in on the most interesting area (without cutting off toes, which is super important!)
- Follow the rule of thirds. Position the foot slightly off-center for a more “pro” look.
- Remove background clutter that sneaked into your shot
Straightening Horizons and Backgrounds
Slanted backgrounds make even the best foot photography editing look off. Most beginner apps have an easy rotate or straighten function that instantly makes photos feel more stable and professional.
Removing Distracting Objects
Use healing or clone tools in Snapseed or Lightroom to erase cords, random objects, or spots you missed when shooting. Go slow; erasing too much can leave odd smudges, so zoom in and double-check your work to maintain a natural look.
Editing Skin, Details, and Accessories
The trick to editing feet photos is stepping up skin and features just enough to look clean, not fake.
Skin Smoothing (Without Making Feet Look Fake)
I gently use skin smoothing or texture reduction on rough spots, being careful not to blur out all the natural details (like tiny wrinkles or pores). Over smoothing makes the image look odd and can be a giveaway of heavy editing.
Healing Small Blemishes, Scratches, or Dry Patches
Healing tools in Snapseed and Lightroom are pretty handy for dings, dry skin, or tiny scratches. Tap gently on just the area you want to fix. It works way better than blurring the whole foot.
Stepping Up Natural Skin Tones
Adjust color temperature and tint until skin looks realistic, not too pink or yellow. Subtle adjustments usually work best. If you have polish on, make sure it matches real-life colors too. Sometimes adding a gentle boost to color can give toes a healthy glow without looking fake.
Bringing Out Details in Nails, Jewelry, or Accessories
I like to tap up the clarity and add local sharpening to just nails or jewelry. This makes rings, bracelets, or polish look extra crisp while keeping the rest of the foot soft and natural. If you photograph anklets or toe rings, use a small brush to sharpen just those parts for a next-level cool touch.
Editing Backgrounds and Color Grading
Editing Backgrounds for a Cleaner Appearance
A messy background can pull attention away from your feet. Blur tools or selective adjustments help soften backgrounds without touching the feet. Canva or Lightroom let you do this quickly, and even a subtle blur makes your feet the focus.
Color Grading for Different Moods
If you want a certain vibe, such as warm and cozy, cool and chic, or vintage, try gentle color grading. Start with preset filters, then tweak exposure, highlights, and shadows to match your style. Don’t be afraid to experiment, and save your favorite looks as presets.
Getting Ready to Share: Saving and Exporting
Saving Images for Websites vs. Social Media
Where you share foot photos changes how you export them. Social media compresses files, so keep images under 2-3MB for fast loading. Websites or online portfolios can use higher resolution, but be sure to test for loading speed and compatibility.
Export Settings for High Quality Images
- JPG is usually fine for web and social.
- Use 2048 pixels on the long edge for Instagram and other platforms.
- Keep a copy of original and edited files for safekeeping; backups are always smart.
Maintaining a Natural Appearance
The top tip in editing foot photos for beginners: keep it natural. Subtle, careful edits look way more professional than over the top filters. Always compare your edit to the original before sharing.
Creating a Consistent Editing Style
Using the same brightness, white balance, and subtle color tweaks helps your work look intentional. Lots of apps let you save editing recipes or presets. It’s a huge time saver and makes your gallery flow much better.
Organizing Edited Photos
Set up folders by project or date on your computer or phone. Label edits and keep the best 2 or 3 versions, so you aren’t overwhelmed. This makes finding, re-editing, or reposting a breeze later.
Building an Efficient Editing Workflow
I’ve found having a simple workflow—import, crop, adjust exposure and color, fix blemishes, detail boost, export—makes things go faster and keeps your editing style consistent. Batch-editing tools in Lightroom or Snapseed are super useful if you have lots of foot photography content to process at once. If you plan to grow your portfolio, creating a routine will save you loads of time.

Mistakes Beginners Should Avoid
- Over-editing: Less is more, especially with skin and color. Go back and forth to spot what’s “enough.”
- Oversaturation: Making colors too strong leads to an unrealistic look.
- Excessive skin smoothing: Real skin has texture. Total smoothness looks fake fast.
- Unrealistic colors: Feet shouldn’t glow or look like cartoon fruit. Always compare to real-life tones.
- Heavy sharpening: Keep it to details like nails or jewelry, not the whole foot.
- Cropping too aggressively: Double-check you aren’t chopping off toes or shrinking the image.
- Using too many filters: Stick to one style. Stacking multiple filters often makes images lose clarity.
Quick Editing Checklist Before Publishing
- Is the image clear and well-lit?
- Did you remove distracting objects?
- Are the skin tones accurate?
- Did you go overboard with any sliders?
- Is everything in focus you want to highlight?
- Does the photo fit your style (if you have one)?
- Did you save or export in the right size or format?
FAQ
Do I need fancy equipment to start editing foot photos?
Not at all. Most phones and free apps (like Snapseed or Apple Photos) are enough for beginner photo editing and can get you great results if you shoot with intention and practice your skills.
What’s the easiest way to make my feet look smooth without overdoing it?
Only use the skin smoothing tools on small areas and keep the amount low. Whole-foot blurs can look fake super fast.
How do I keep colors looking natural?
Always check white balance and don’t push saturation too high. Compare your edited photo to your real-life skin as a reference.
What’s the best image size for Instagram foot photos?
2048 pixels wide is a good starting point. Instagram compresses images but will display photos well at this size.
How can I fix a messy background if I can’t reshoot?
Try the healing or blur tool in Snapseed or Canva to soften or erase distractions. If it looks off, cropping might work better.
Should I keep the original, unedited photos?
Yes! Originals are great if you ever want to re-edit or try new styles in the future. Make a backup somewhere safe.
How long should an edit take?
Most beginner photo editing sessions will take 5-15 minutes per photo once you get used to the tools. It gets faster with practice!
Your Takeaway
Editing foot photos for beginners is about stepping up what’s already there, not changing things completely. Good lighting and composition are way more important than intense editing. The best edits are the ones that don’t stand out, they just make your work look naturally clean, sharp, and appealing. Start simple, keep practicing, and you’ll see your foot photography content improve fast. Over time, you’ll figure out what editing style fits your brand, platform, or mood, and editing becomes just another fun part of expressing yourself.
Related Articles
Editing is only one part of creating beautiful foot photography. From capturing sharper images to choosing flattering poses and preparing your feet for the camera, these guides will help you improve every stage of your content creation process.