Editing foot photos might sound pretty niche, but it’s a seriously valuable skill if you’re sharing content online. Whether it’s for social media, a creative project, or even a business, clean and well-edited foot shots stand out and set a truly professional tone. Unedited pictures can look flat or highlight distractions you didn’t notice during the shoot. That’s where simple editing steps can totally transform your work, even if you’re brand new to the process.
Which Photo Editing Software Works for Beginners?
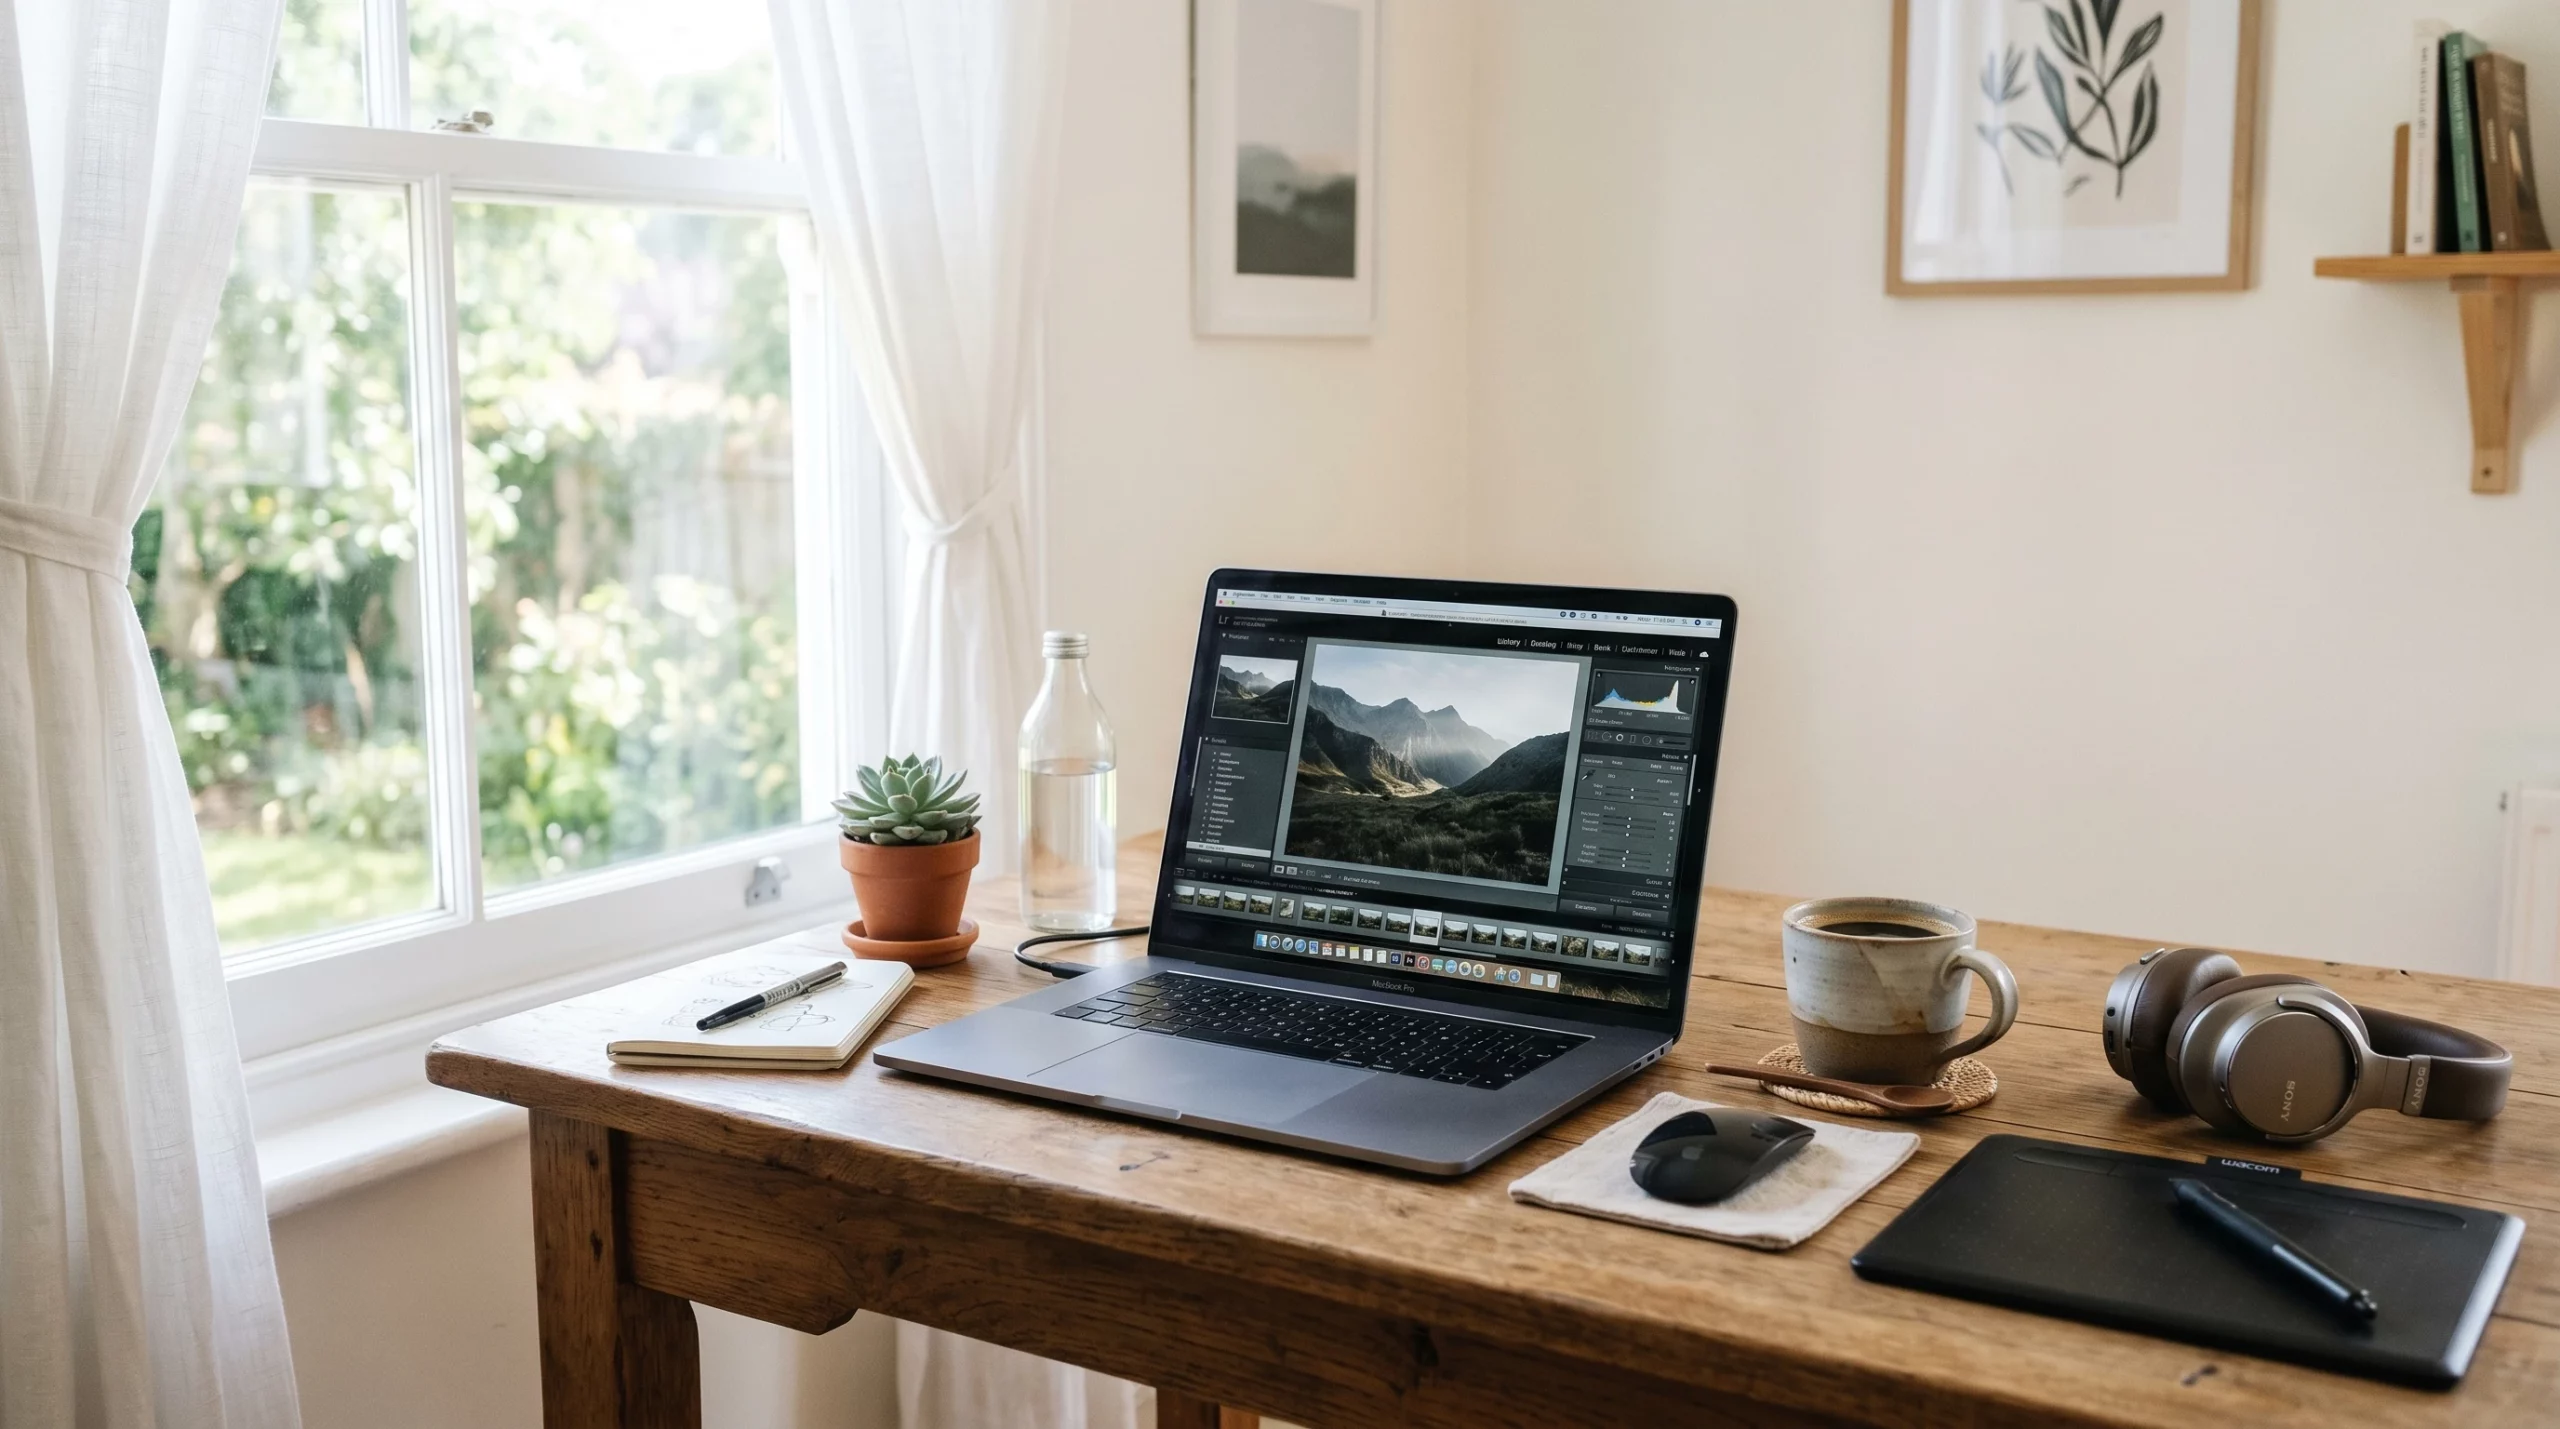
There are plenty of programs that make editing easy to learn, and you don’t need advanced skills. Check out some options I really like, whether you want something free or are ready to invest a bit:
- Snapseed (Free, mobile): The app is super user-friendly and lets you make most basic tweaks using your phone. Worth grabbing if you want editing on the go.
- Lightroom (Adobe, free basic version, paid full): This software is beginner-friendly but also grows with your skills. The mobile version is free with great basics.
- Canva (Free & paid): It’s not just for graphics; Canva has simple photo editing tools and cool filters.
- Photoscape X (Free & paid, desktop): Great for anyone who wants a bit more control without a steep learning curve.
- VSCO (Free & paid, mobile): Known for filters and has good manual settings for editing color and contrast.
Don’t let software choices slow you down. Most apps and programs are easier to use than they look. YouTube is packed with helpful walkthroughs if you ever feel stuck.
Getting Photos Ready Before Editing
Prepping your photos can save you lots of time once you open your editor. Here’s what I do right after taking pictures:
- Sort through your images and weed out anything blurry or unusable. Editing’s faster when you’re only working with your best shots.
- Transfer your files to your computer or phone in an organized folder. I like to label by date or project for easy searching later.
- Back up everything. You never want to lose a day’s work. Cloud storage or an external drive comes in handy.
If you’re uploading phone photos, make sure they save in high quality to avoid pixelation during editing. Also, avoid compressing them through extra apps before starting edits to keep the best resolution.

Basic Editing Adjustments That Make a Difference
Small tweaks can often have the biggest impact. These are my go-to adjustments whenever I start editing foot photos:
Cropping and Composition
Cropping removes background clutter and puts the focus on the feet. Use rule-of-thirds guides if available since those help balance your shot and make it more visually appealing. Try not to crop too close, or you might lose important details.
Brightness and Exposure
Lighten dark spots and shadows by raising exposure or brightness. If your photo looks washed out, dial it back a little. Adjusting highlights is another way to make an image pop up without losing skin or nail texture.
Contrast
Increasing contrast will help separate the subject from the background. Too much, though, and your feet could look harsh or unnatural. Start subtle, then build if needed.
White Balance
White balance controls how warm or cool your image feels. If your feet look too orange or blue, adjust the setting. Skin tones should be natural, typically somewhere between not-too-yellow and not-too-pink, so tweak this slowly until you get a balanced look.
Color Correction
If the image looks off, tweak saturation and vibrance only a bit at a time. Overdoing it is obvious, especially with skin tones, so use a light hand for better, realistic results.
Sharpness
Adding a slight boost in sharpness can bring out cool details in toenails or jewelry. Be careful; adding too much can create weird halos or grain.
Removing Small Distractions and Blemishes
Even the best setups pick up dust, lint, or surprise marks. Most editors offer spot healing tools—these let you tap or brush away little flaws quickly. For foot photos, I like to use:
- Clone/Spot Heal: Tap to remove a bit of fuzz, scratches, or an uneven patch. It’s usually one quick click.
- Patch Tool: Select a small area with a blemish and drag it to a clean patch of skin so it blends in.
- Blur/Soften: Gently softening harsh lines or minor imperfections can help create a more even look. Don’t erase texture altogether unless you’re after that effect.
Stick with minimal edits for a natural feel. Too much can give your photo an airbrushed look. Unless you want that on purpose, keep it subtle.
Tips for Natural Looking Foot Photos
It’s easy to overdo things when you first start out, but the best results usually come from keeping it real:
- Stick to small changes and your audience will spot if something looks too filtered.
- Keep unique skin details like freckles or small veins. Removing every feature really flattens the image.
- Match edits so both feet look like they belong in the same photo.
- Avoid whitening skin too far as it can end up looking chalky and unnatural.
Realistic editing helps your work stand out in a genuine way and helps your viewers trust what you post.
Common Mistakes Beginners Make
- Overediting: It’s tempting to move every slider and use every filter, but less truly is more, especially with skin tones.
- Missing color casts: Indoor lights might tint your image yellow or green and it’s easy to miss unless you check white balance.
- Maximum sharpening or noise reduction: Useful tools, but too much makes feet look plastic or fake.
- Too-tight cropping: Your photo needs space—don’t cut off toes or the heel.
- Not reviewing on different screens: A picture that looks good on your phone may seem way too dark on your laptop screen.
Recommended Workflow for Editing Foot Photos
Here’s the routine I stick to for a quick, consistent process and high-quality results:
- Pick out your strongest shots and toss the rest.
- Start with cropping and straightening.
- Adjust exposure, brightness, and contrast.
- Fix white balance next so colors remain natural.
- Add careful tweaks to saturation and vibrance.
- Spot remove little distractions or blemishes as needed.
- Add a slight sharpening touch if needed.
- Review the image at full size by zooming in and out to catch anything off.
- Save a high-resolution copy for sharing or posting.
This order ensures you don’t need to repeat any steps and lets you notice small details before they slip by.
Frequently Asked Questions
Here are some questions I often get from people just getting into editing foot photos:
What’s the easiest way to remove background distractions?
Try the crop tool and spot healing, as they handle most clutter fast.
Should I use filters or manual adjustments?
Manual tweaks almost always look more professional and real. That said, a soft filter can add a nice finishing touch.
How do you avoid overediting?
Take a break and return to the photo with fresh eyes. Compare your before and after versions to see if you’ve lost any natural texture or color.
Is there a best time of day to shoot for easier editing?
Soft daylight—in the morning or late afternoon—gives gentle shadows and helps you edit more easily later.
Your Takeaway for New Editors
Learning to edit foot photos takes patience, but you don’t need expensive tools or expert skills for polished work. Start simple, experiment with different apps, and let go of needing everything perfect. The more you practice, the easier it’ll be to spot your style and lock in your own editing routine. Clean, natural edits help your photos stand out online and build real trust with your audience. Stick with it, stay consistent, and enjoy the process. Happy editing!
Related Articles
Editing is only one part of creating eye-catching foot photography. If you want to improve your lighting, composition, styling, and overall content quality, these articles can help you take your photos to the next level.