If you’re looking to step up your portfolio, get creative with content, or just want some fun new foot posing ideas, mastering foot photography poses that showcase soles can give your photos a fresh twist. Focusing on soles helps tell a more personal and playful story through your images, opening up lots of options for both casual snaps and pro level shots.
Why Sole Poses Matter in Foot Photography
Soles capture a unique side of foot photography that’s often overlooked. Highlighting soles brings out softness, shape, and personality in a way that classic top down or side views can’t. If you’re a content creator or just leveling up your foot model poses, showcasing the soles can make your shots feel more inviting and authentic. For anyone building a foot photography portfolio or sharing content on social media, having expressive sole photo ideas helps your work stand out. Plus, creative foot photography focused on soles attracts a wider audience interested in both beauty and artistry.
Prepping Feet Before Photographing Soles
Before snapping those closeups, a little TLC goes a long way. Cleanliness is really important; any dirt or lint shows up quickly in high-res shots. I always start with a gentle foot soak, followed by exfoliating (think: scrub or pumice) to smooth out rough patches. Moisturize well, but wipe away any greasy residue so the look stays natural, not shiny. Neatly trimmed nails and, if you’re feeling it, a pop of polish or nail art can add a fun touch. For more detailed guidance, check out my tips on foot care and preparation specifically for photo shoots.
Lighting Tips for Soles in Foot Photography
Lighting can really make or break a good sole shot. I’m a big fan of natural daylight; soft window light in the morning or late afternoon helps reveal skin texture and warmth without harsh shadows. If you’re shooting indoors or at night, try using a ring light or a couple of softbox lights positioned at a slight angle from below for even illumination. Direct overhead light often flattens the foot’s shape. Reflectors (even a plain white posterboard) help bounce light onto the sole, adding a subtle glow. Want to jump into this more? See my article on foot photography lighting for more examples and setup tricks.
10 Sole Focused Foot Photography Poses to Try
So, let’s now have a look at the poses I think you’ll really like for creative foot photography. Each one can be styled to match personal flair; don’t hesitate to adapt angles, add props, or switch up locations. With a little practice, you’ll soon have a bunch of go-to ideas for your next shoot.
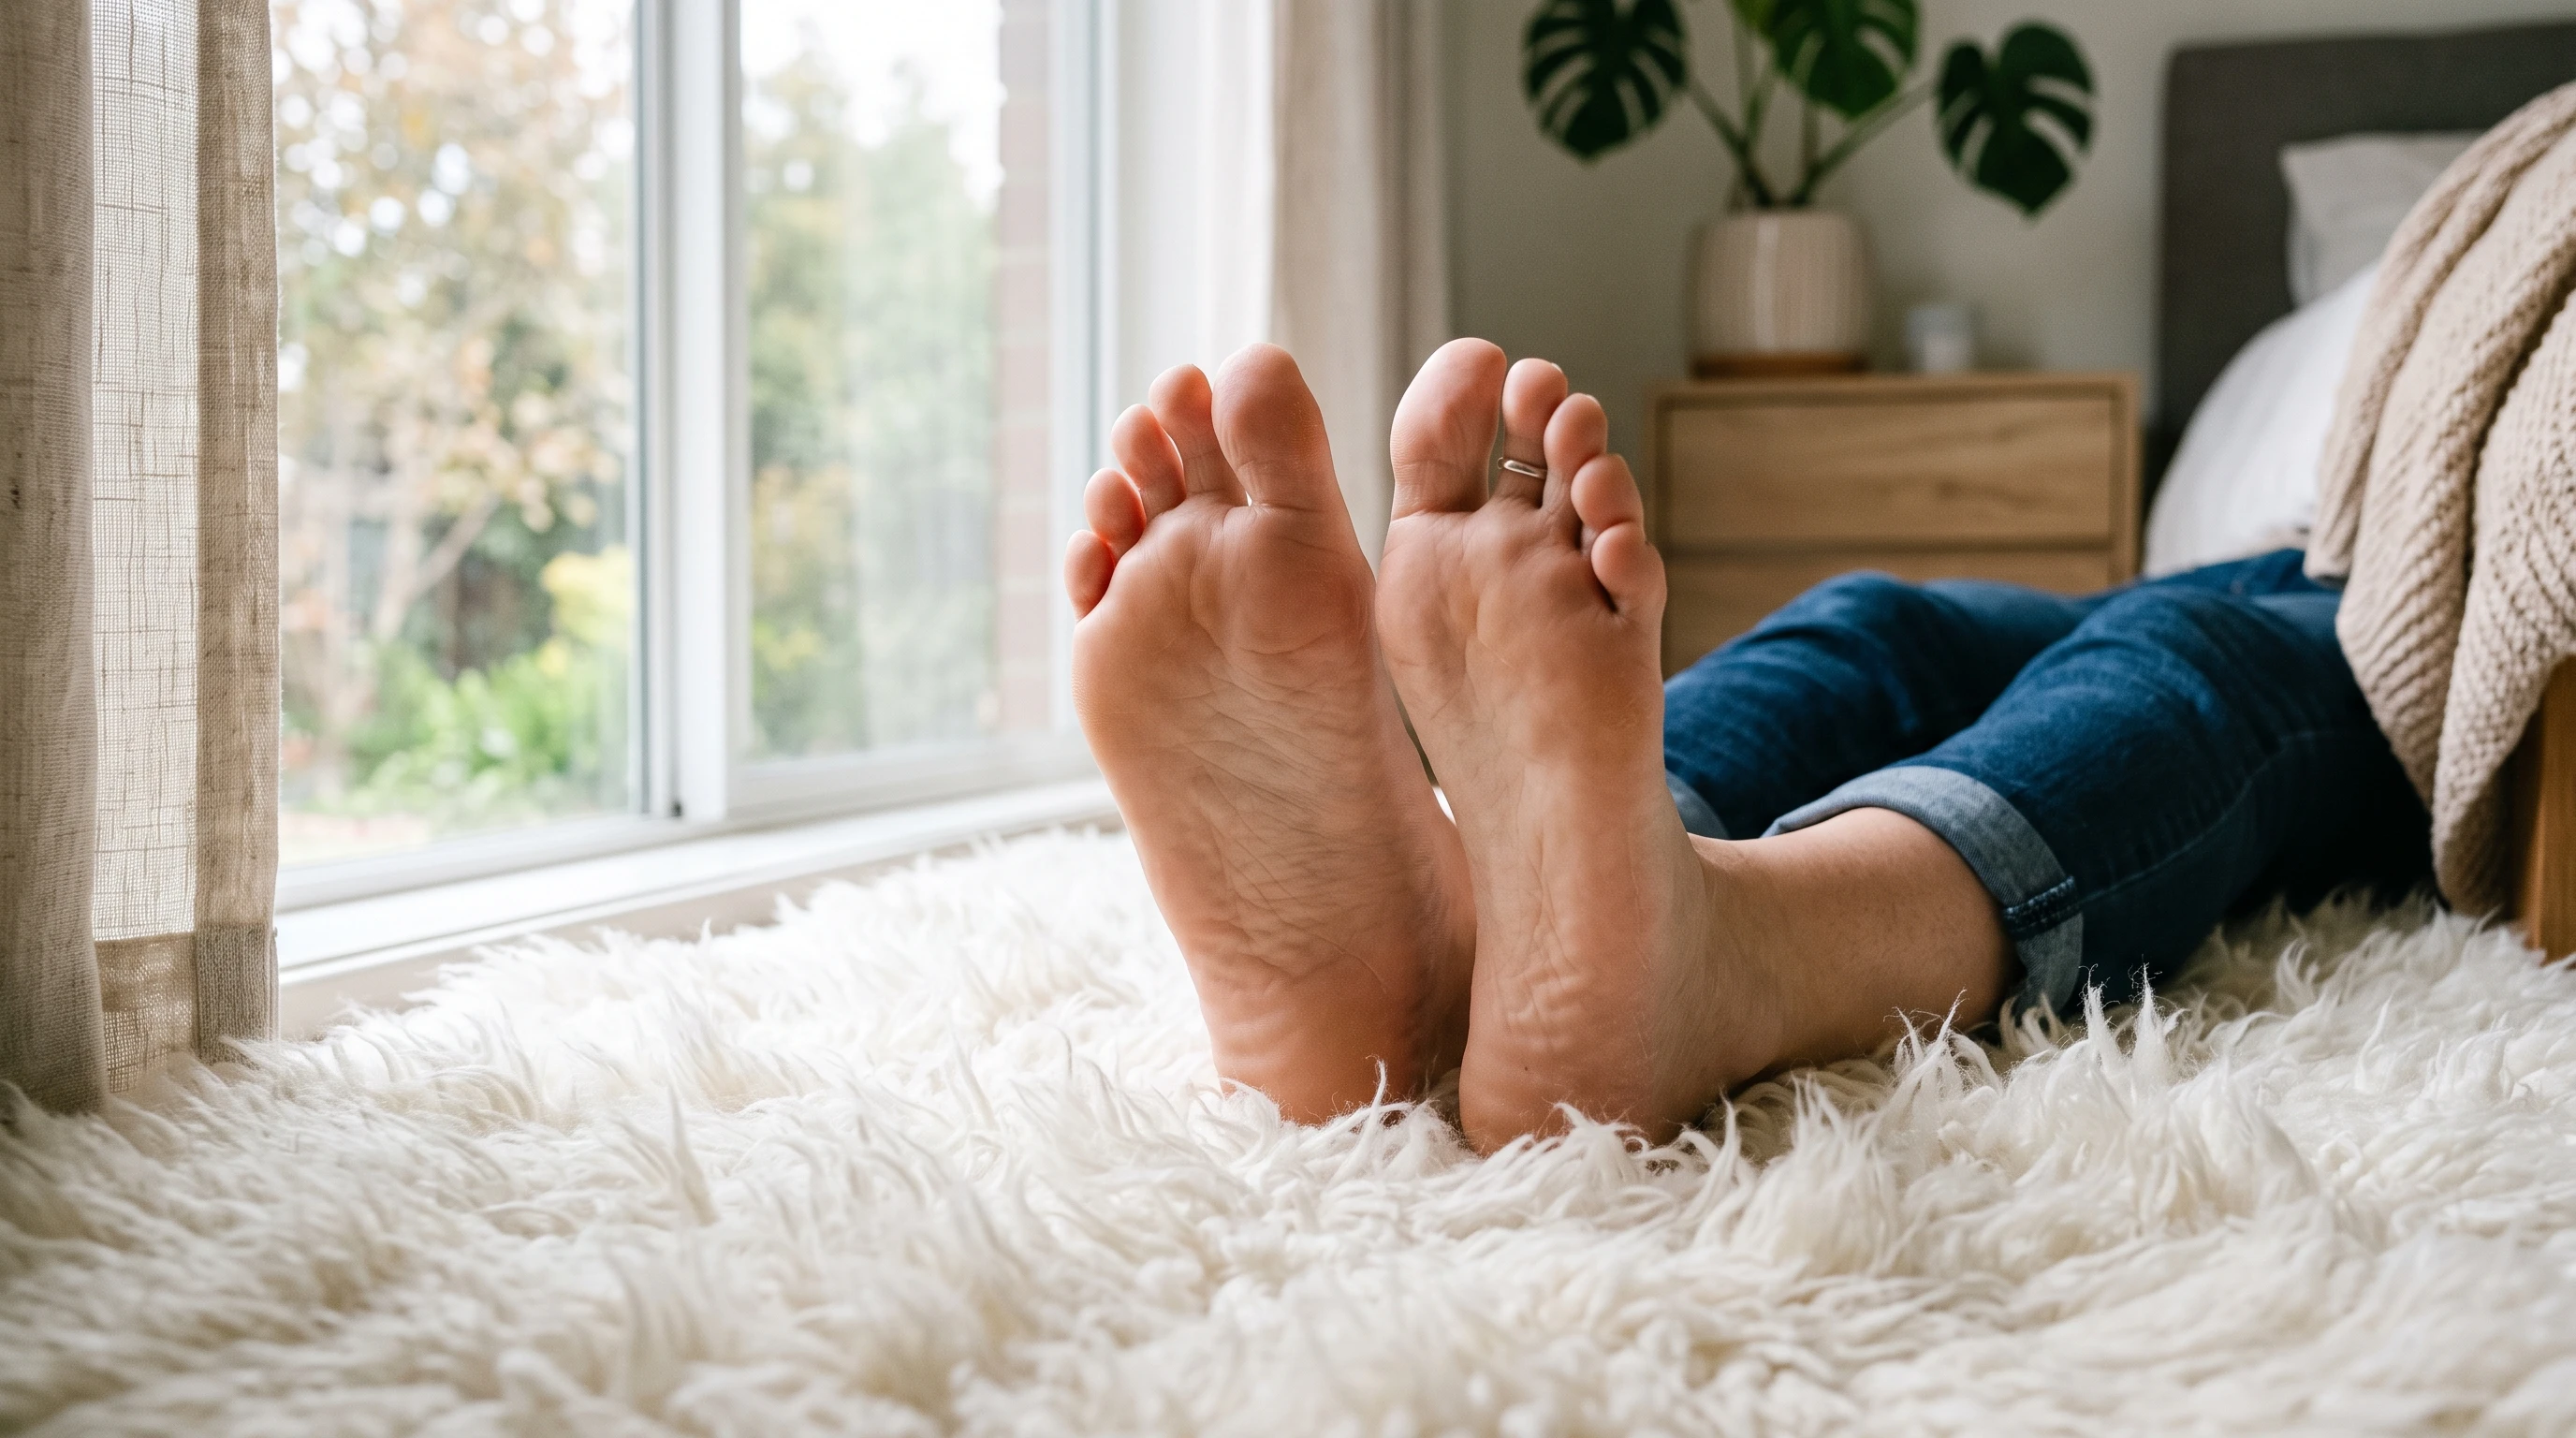
1. Relaxed Crossed Ankles
- How: Sit or recline, cross your ankles loosely with soles facing the camera.
- Why it works: This pose highlights the curves and arches of both feet at once, creating a sense of comfort.
- Camera angle: Shot from foot level, straight on or slightly from the side.
- Best location: Bed, couch, or a fluffy rug.
- Tips: Keep feet relaxed; avoid stiff toes for a more genuine look.
2. Over the Shoulder Sole Shot
- How: Lie on your stomach and bend your knees so your soles face up. Turn your head back toward the camera.
- Why it works: Shows off both the soles and a hint of personality with facial expression.
- Camera angle: Directly behind feet or at a diagonal for more interest.
- Best location: Bed, blanket, or grassy lawn.
- Tips: Keep toes slightly pointed to lengthen the look of the feet.
3. Tiptoe Stand
- How: Stand on tiptoes facing away from the camera so only your soles are in view.
- Why it works: Elongates legs, adds definition to the arches, and gives a dynamic feel.
- Camera angle: Directly behind, near ground level.
- Best location: Outdoor paths, hardwood floors, or minimalist spaces.
- Tips: Shift your weight until you’re balanced to keep muscles looking smooth instead of tense.
4. Seated Sole Stack
- How: Sit with legs straight, stacking one foot atop the other, soles facing forward.
- Why it works: Brings focus to both feet at different heights and shows skin texture.
- Camera angle: Low and straight on for full impact.
- Best location: Simple background; think plain floor or a studio setup.
- Tips: Keep heels just slightly lifted off each other to create a subtle shadow.
5. Classic Sole Stretch
- How: Recline and stretch your legs towards the camera, soles up, toes flexed or curled.
- Why it works: Flattens the foot slightly, giving a smooth, even appearance.
- Camera angle: Shot from foot height, centered on the soles.
- Best location: Bed, yoga mat, or sunny floor nook.
- Tips: Maintain even pressure so feet look relaxed instead of forced.
6. Outdoor Barefoot Walkaway
- How: Walk away from the camera on sand, grass, or soft dirt, capturing your soles as you move.
- Why it works: Shows natural movement, texture, and lifestyle vibes.
- Camera angle: From behind and low to the ground, following the feet.
- Best location: Beach, nature trail, or garden path.
- Tips: Take slow, deliberate steps for clear sole prints and relaxed arches.
7. Chair Perch
- How: Sit on a chair and pop feet up onto the seat or edge, soles angled toward the camera.
- Why it works: Adds playful energy and brings feet front and center.
- Camera angle: Eye level or slightly below for a bold effect.
- Best location: Simple, uncluttered background or artsy chairs for contrast.
- Tips: Drape arms or legs naturally to keep the pose casual.
8. Sole Mirror Reflection
- How: Stand or sit with your feet pressed gently against a mirror, soles reflected toward the lens.
- Why it works: Doubles the impact and adds an artsy, layered look.
- Camera angle: Straight on to capture sole and reflection.
- Best location: Large wall mirror or handheld mirror for closeups.
- Tips: Wipe mirrors clean to avoid distracting smudges or dust.
9. Cozy Blanket Curl
- How: Wrap yourself in a blanket with feet poking out, soles facing the camera.
- Why it works: Suggests warmth and coziness, perfect for lifestyle content.
- Camera angle: Slightly above or at foot level.
- Best location: Bed, sofa, or reading nook.
- Tips: Let toes peek out naturally rather than forcing them straight.
10. Prop Play
- How: Use props like flowers, sheer fabric, or colorful socks rolled down to add style and mood around the soles.
- Why it works: Makes the shot pop and brings an extra creative touch to standard poses.
- Camera angle: Depends on the prop and scene, but usually from foot height or slightly to the side.
- Best location: Studio setup, cozy corner, or light filled spot with minimal distractions.
- Tips: Use props that complement, not overwhelm; you want to keep the focus on the feet.
Need more pose ideas? I’ve shared more on foot content poses and how to keep your shots fresh with new angles and avenues to take with foot photography. Play around to see what feels most eye catching in your own style.
Common Mistakes That Make Sole Photos Less Appealing
- Dirty or unprepped feet: Clean and pampered feet always look best in high detail shots.
- Harsh or uneven lighting: This can add shadows or highlight imperfections unnecessarily. Stick to soft, even lighting for flattering results.
- Awkward, stiff poses: Natural is better than forced. Shake out your feet between shots to avoid cramping.
- Distracting backgrounds: Busy scenes pull attention away from the soles. Keep it simple unless the background adds something valuable.
- Angle overload: Aiming for too many complex shots in one go can make photos feel chaotic. Focus on one or two well planned foot posing ideas per session.
Editing Tips for Balanced, Natural Looking Sole Photos
Editing helps polish your work, but I go easy to keep the look true-life. Adjust exposure and brightness first to even out any shadows or overblown spots. Use gentle contrast and clarity tools to bring out texture, but avoid over sharpening, which can make skin look rough. Healing tools are pretty handy for smoothing small blemishes or lint, while color correction can soften any redness or uneven skin tone.
Frequently Asked Questions
What are the best foot photography poses that showcase soles?
Sol focused poses like tiptoe stands, relaxed crossed ankles, and mirror shots all put the soles front and center. Try them on a bed, rug, or outdoors for different moods.
How do I make my soles look softer and more attractive in photos?
Regular exfoliation, moisturizing, and avoiding harsh lighting help a lot. Prep well before each shoot.
What lighting setups work best for sole photography?
Softer, indirect natural light or side angled artificial light is usually flattering. Avoid hard flashlight or overhead light that creates harsh shadows.
Should I use props for creative foot photography?
Props can add interest but shouldn’t steal the spotlight from your feet. Try soft fabrics, fresh flowers, or subtle backgrounds to keep attention on the soles.
How do I avoid making my foot photos look over edited?
Make only minor tweaks to exposure, smoothness, and color balance. Focus on cleaning up small blemishes but maintain authentic skin texture.
What camera angles make soles look their best?
Shooting from foot level, slightly diagonal, or just behind the feet brings the soles into focus.
What are some beginner friendly foot model poses for soles?
Try seated sole stacks, cozy blanket curl, or over the shoulder sole shots. These don’t need much flexibility and look great with basic setups.
How can I keep my foot photography poses looking natural?
Take breaks, keep your muscles relaxed, and move around between shots to avoid stiffness. If it feels awkward, it probably looks awkward; find what feels easiest for you.
Get Creative and Have Fun With Your Soles
Getting comfortable with these foot photography poses that showcase soles opens up tons of new possibilities for your content. Each pose brings out different textures, moods, and stories, allowing you to play with light, props, and locations. The sole focused approach is just the start; experiment and enjoy finding your own style, and don’t be afraid to make each photo session uniquely yours. Whether you’re shooting for fun or building your professional portfolio, these ideas can set your work apart and help you build an eye catching collection of shots that people will love to check out.
Related Articles
Great sole photography starts with more than just striking poses. Learning how to prepare your feet, choose the right lighting, capture flattering angles, and polish your images afterward can take your content to the next level. Continue improving your foot photography skills with these helpful guides.