Nail polish plays a bigger role in foot photos than a lot of people give it credit for. If you’re looking to sell pictures of your feet online, colors aren’t just about picking something you like. They set the mood for your photos, help your pictures stand out, and can even make your skin look brighter and smoother. Picking the right polish means thinking about your skin tone, lighting, and the vibe you want to create. Here’s my practical guide on choosing nail polish colors for your skin tone, especially when you want each photo to look its best and sell even better.
This post may contain affiliate links. If you click and buy through them, I may earn a small commission at no added cost to you. For more details, see my affiliate disclosure.
Why Nail Polish Shade Selection Matters for Selling Foot Photos
Color choice isn’t just for looking cute; if you’re marketing and selling feet pics, it actually affects how viewers pick up on your photos. Some shades make your toes pop, while others blend into skin or lighting. For example, white polish can highlight tanned skin and give photos a clean, fresh look that appeals to certain buyers. Meanwhile, dark reds or blacks can give a more sophisticated or edgy vibe. Nail color also changes with trends, client requests, and even the season.
Taking a little time to match your polish to your skin tone helps photos look more polished, professional, and market ready. Foot pic buyers notice these little touches, and you’ll often get more attention, sometimes even repeat buyers, when polish pops on camera.
Understanding Your Skin Tone: The Basics
If you’re not sure how to figure out your skin tone, there’s no need to overcomplicate things. Most people have a skin tone that falls into one of three main categories: fair, medium/olive, or deep. Each group reacts differently with color, lighting, and certain polish shades.
- Fair Skin: Usually burns easily, often has a pink, red, or blue undertone.
- Medium/Olive Skin: Tans easily, often looks slightly yellow, peachy, or greenish.
- Deep Skin: Rich brown tones, often with cool, warm, or neutral undertones.
If you haven’t checked your undertone, just flip your wrist and look at your veins. Purple/blue means a cool undertone, greenish veins mean warm, and both colors mean neutral.
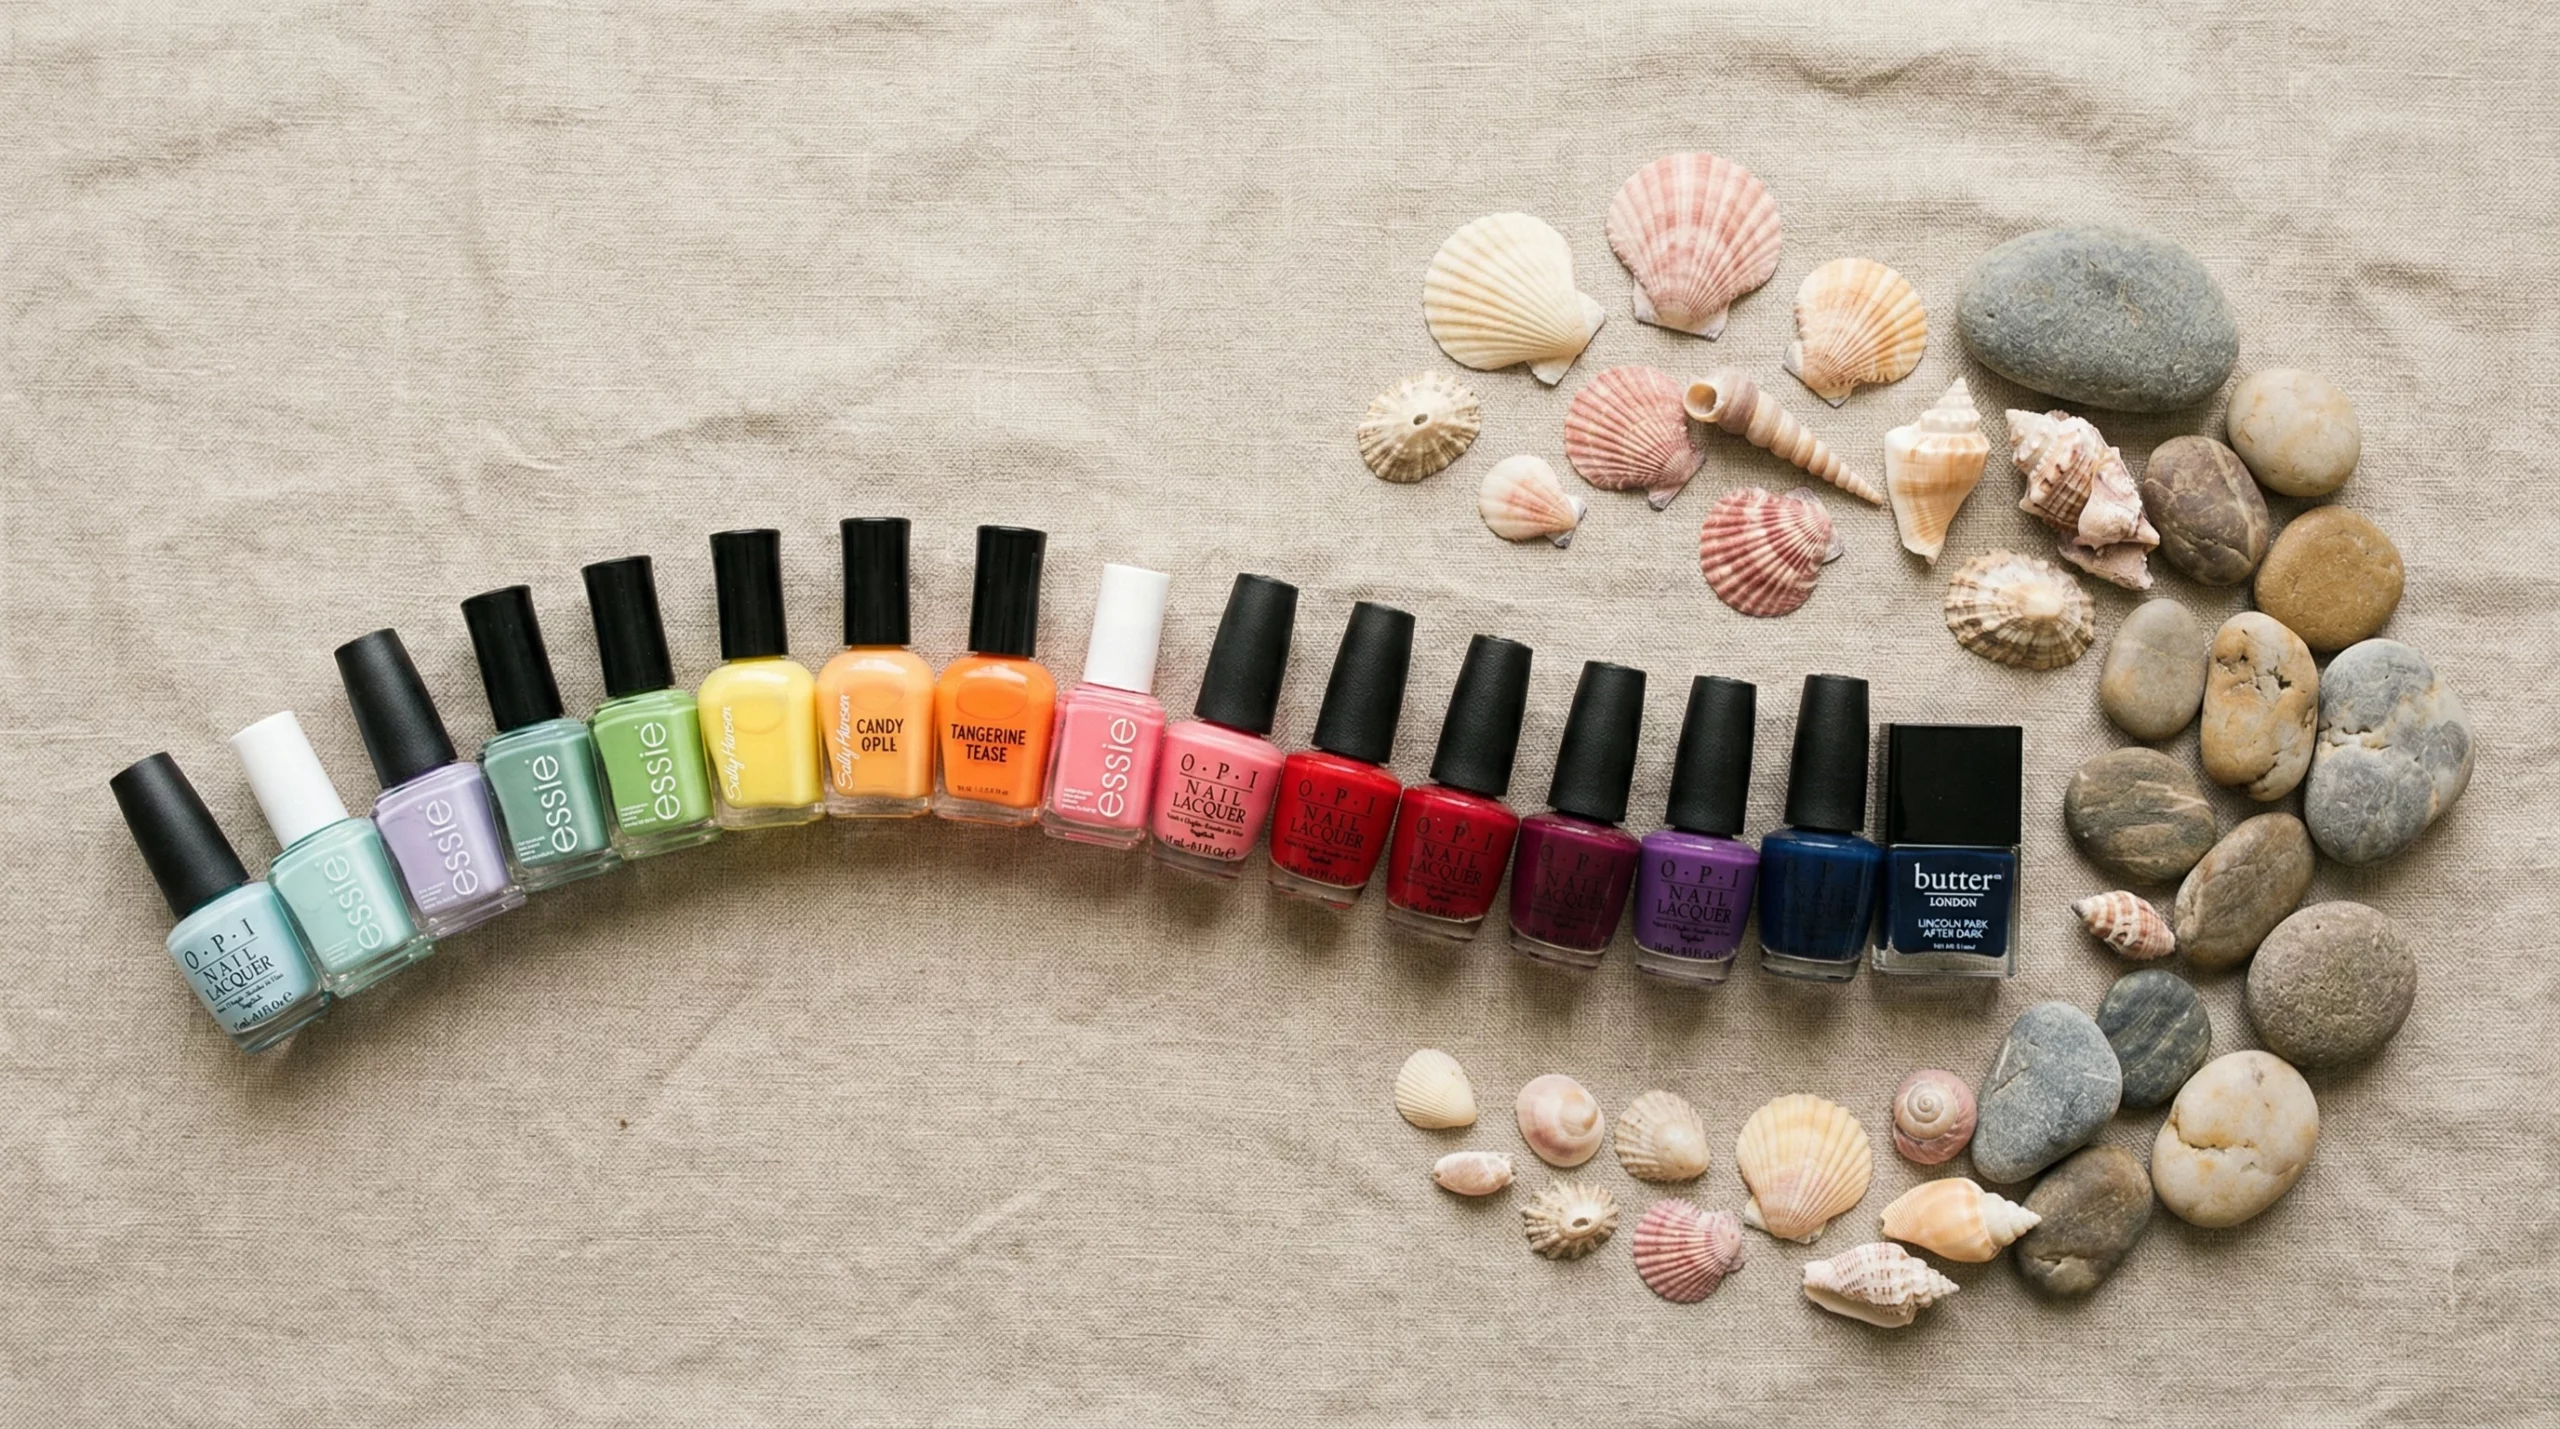
Best Nail Polish Colors for Different Skin Tones
Matching polish to skin tone can really change the overall look of your foot photos. So, here’s what tends to work, based on years of playing with color myself and talking with other sellers:
For Fair Skin
- Soft pinks and pastel shades: Give a fresh, clean look without washing out your skin.
- Classic red: Never goes out of style. True reds pop against fair skin and make for eye-catching photos.
- Light cool blues and lavenders: Contrast gently, great for spring or relaxed vibes.
Avoid yellowy shades or overly dark colors, which can make skin seem paler or highlight redness in photos.
For Medium and Olive Skin
- Corals and peaches: Add warmth and brightness, making feet look sun kissed.
- Bold berry tones or fuchsias: Great for playful or summery looks that pop in bright light.
- Turquoise and teal: These shades look stunning, especially against olive undertones and beach backgrounds.
Avoid too light pastel shades that can blend awkwardly or look almost gray against olive skin in photos.
For Deep Skin
- Vibrant brights: Hot pinks, electric blues, and citrusy oranges all pop beautifully on deeper skin and grab attention in photos.
- Metallics and jewel tones: Gold, bronze, emerald, or royal blue add richness and dimension on camera.
- Classic white: Looks luminous and fresh, especially on glossy toenails in bright lighting.
Pale pastels can fade out and get lost on camera. Instead, richer shades keep the look lively.
Quick Guide: Steps to Choosing the Right Nail Polish
- Know your undertone: Cool, warm, or neutral, it gives a clue to what shades will be flattering.
- Pick your mood or the theme: Casual, luxe, edgy, sweet; choose a color that matches what you want to sell or the requests you’re filling.
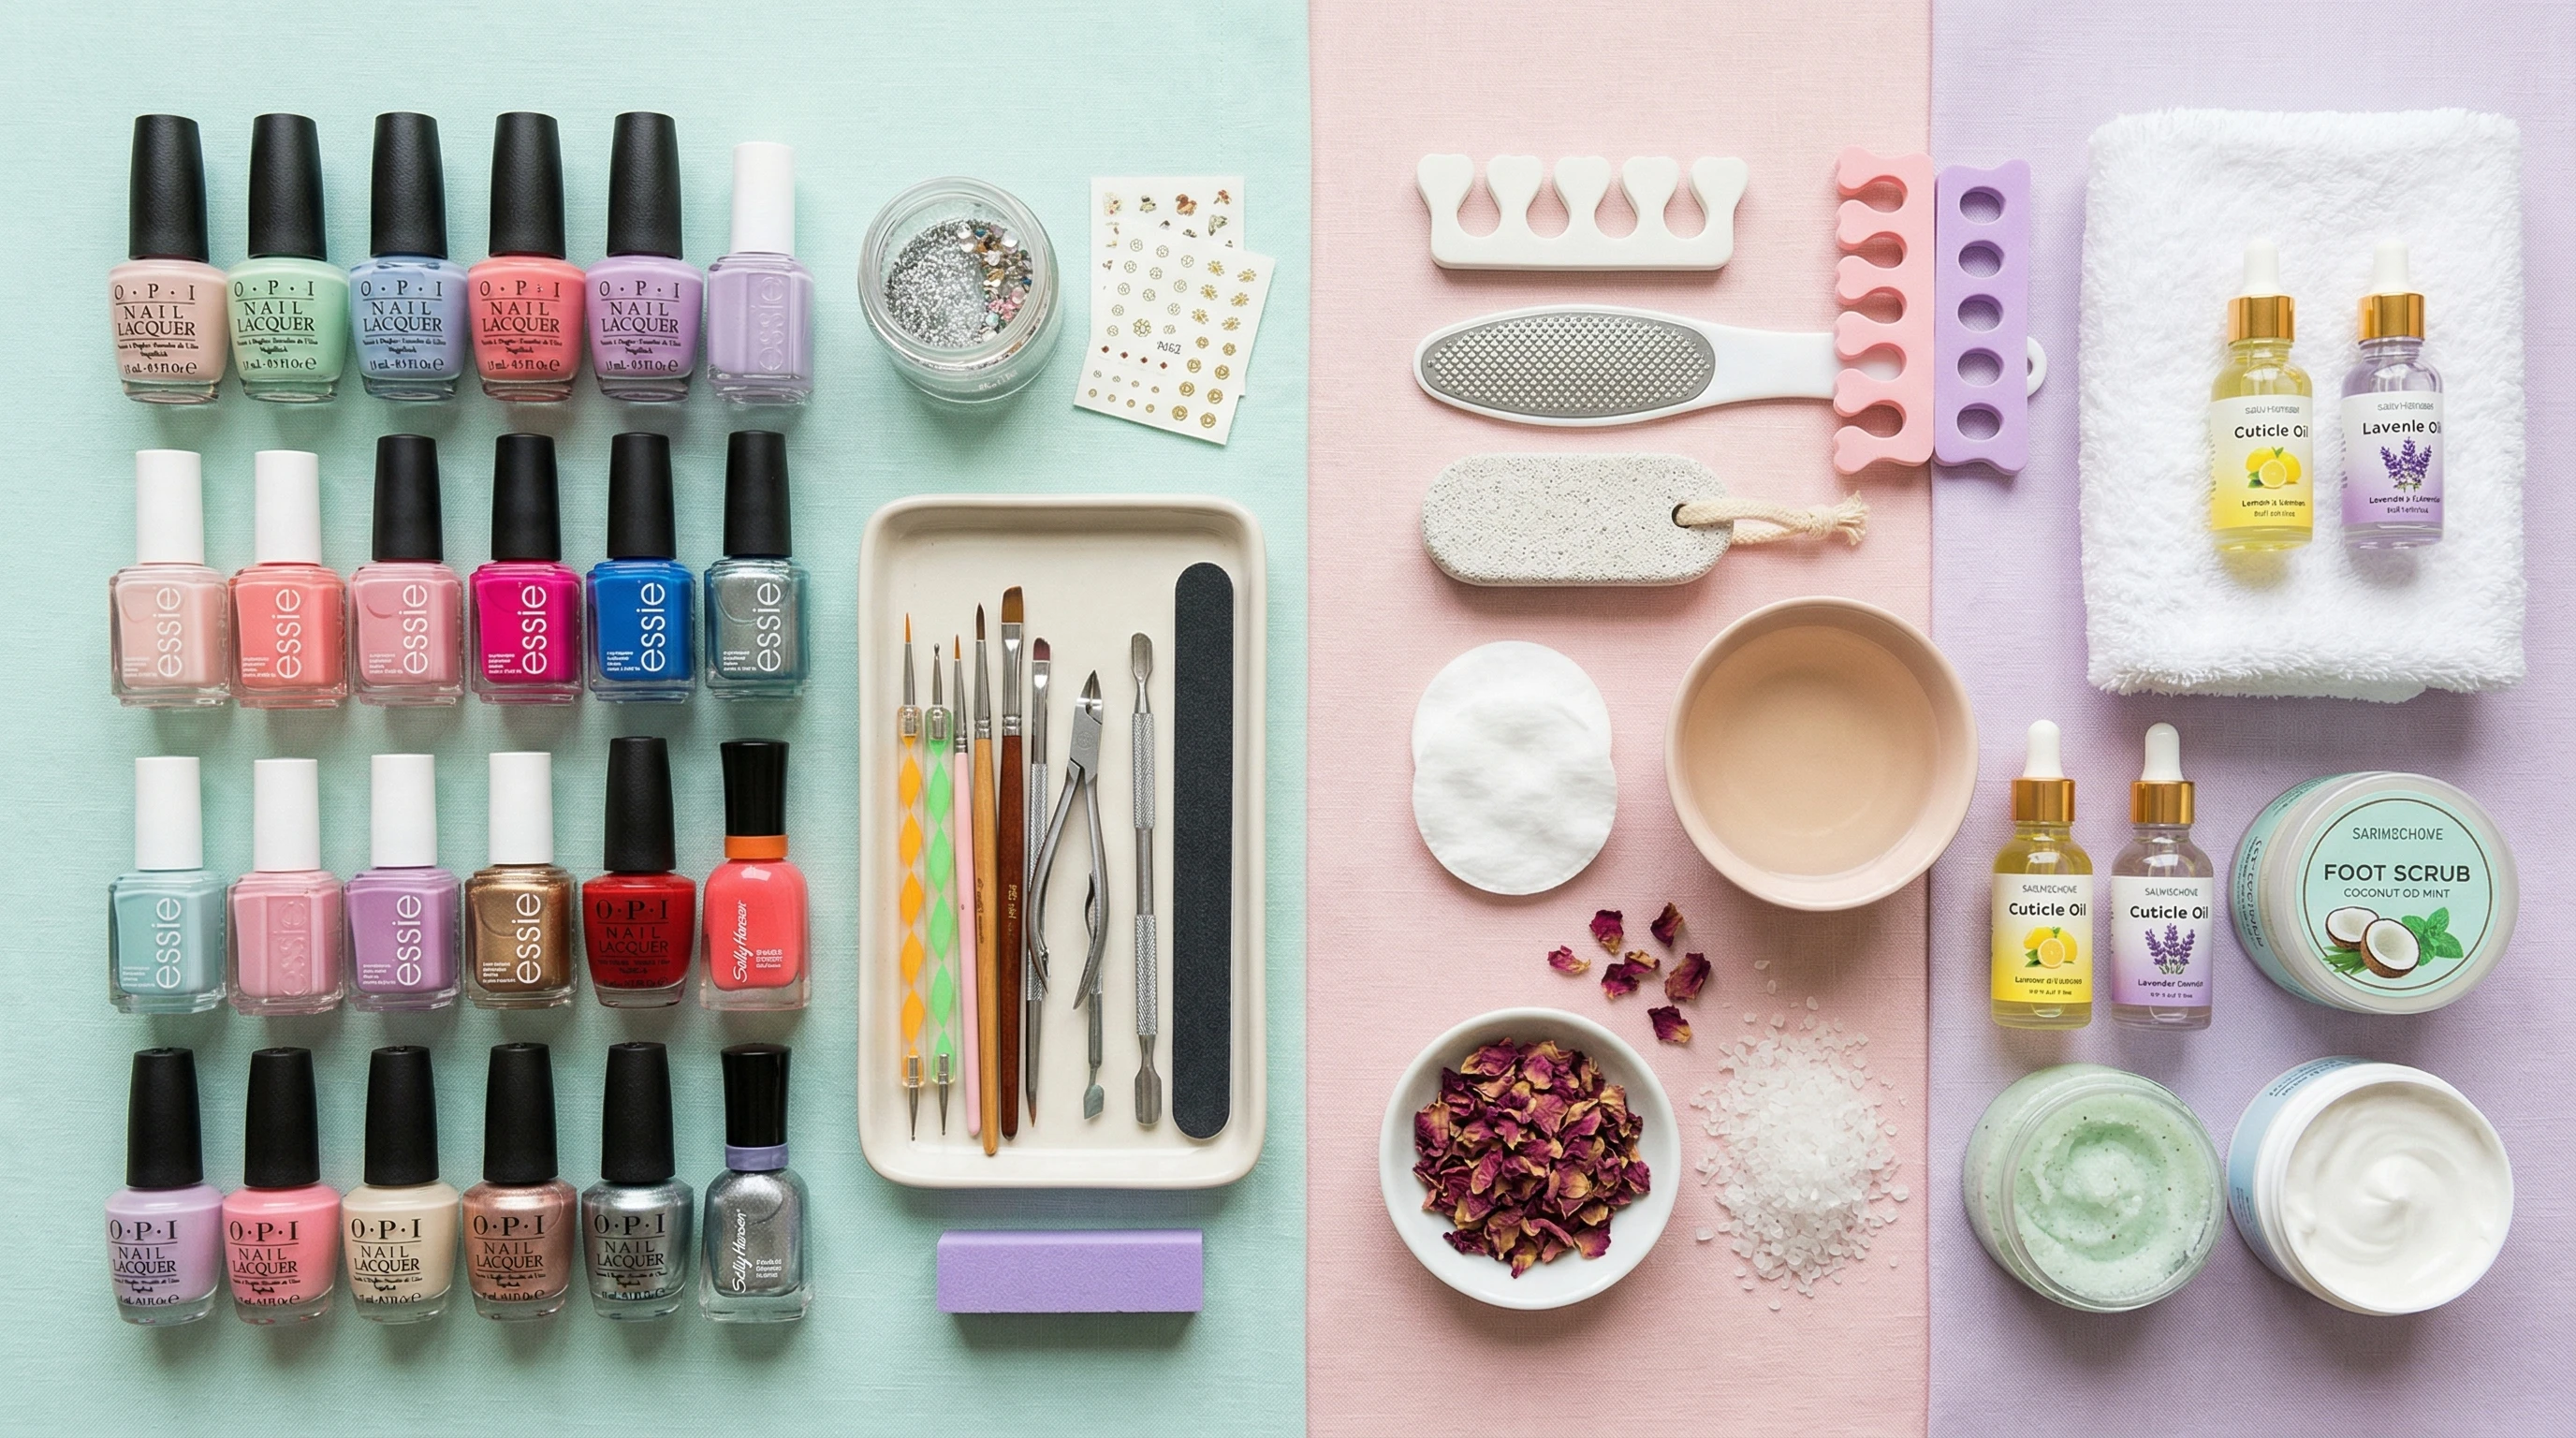
- Swatch before painting: Try putting a few polish stripes on a clear nail tip (if you have any) and placing it over your toenail to see the effect in natural light.
- Consider lighting for photos: Some polish shades look totally different in daylight versus indoor lighting, so do a quick test snap with your phone under your usual setup.
- Match your shoot background: If you plan on shooting with props, rugs, or outdoor scenes, pick polish that won’t blend in or clash.
Following these steps makes it easier to find the right polish and keeps your photos looking pro without a lot of guesswork. When you get into the habit of testing your polish under your normal lighting and against your chosen props, your pictures will look consistently next-level cool and camera ready.
Common Issues: What to Watch Out For
- Streaky application: Light shades and whites show every brush stroke. Go slow, use thin layers, and let each coat dry to avoid smudging.
- Chipping or uneven polish: If you take lots of foot photos in one sitting, chips can ruin a shoot. Try a good base coat, use more than one topcoat, and do minor touch-ups right before every session.
- Inconsistent coloring on each toe: Always doublecheck your application, especially with bright colors. Uneven color or skipped spots get noticed in closeup photos.
Getting Rid of Unwanted Shine or Reflection
Too much shine in the polish can cause glare under bright lighting or with flash photography. If you want a more matte look for certain buyers, dab a little matte topcoat after drying. This softens the shine and makes photos look velvet smooth.
Advanced Tips for Maximizing Sales with Polish Choice
Matching your nail color to your audience’s preferences can lead to more sales. If you’ve got a regular customer base, ask what colors they like. Some buyers want classic reds or nudes, while others might pay more for wild neons or unique designs. You can even send out a poll or a sample photo set and let them vote on your next color; this not only gives you direction but also gets your buyers more involved.
Trying out trending polish colors is a good way to attract new buyers who follow social media trends. Watch what’s popular on Instagram or nail art blogs if you want to keep your gallery on the cutting edge. For example, colors like neon green, sky blue, or chrome finishes have grabbed attention recently, so tracking what’s new can keep you a step ahead.
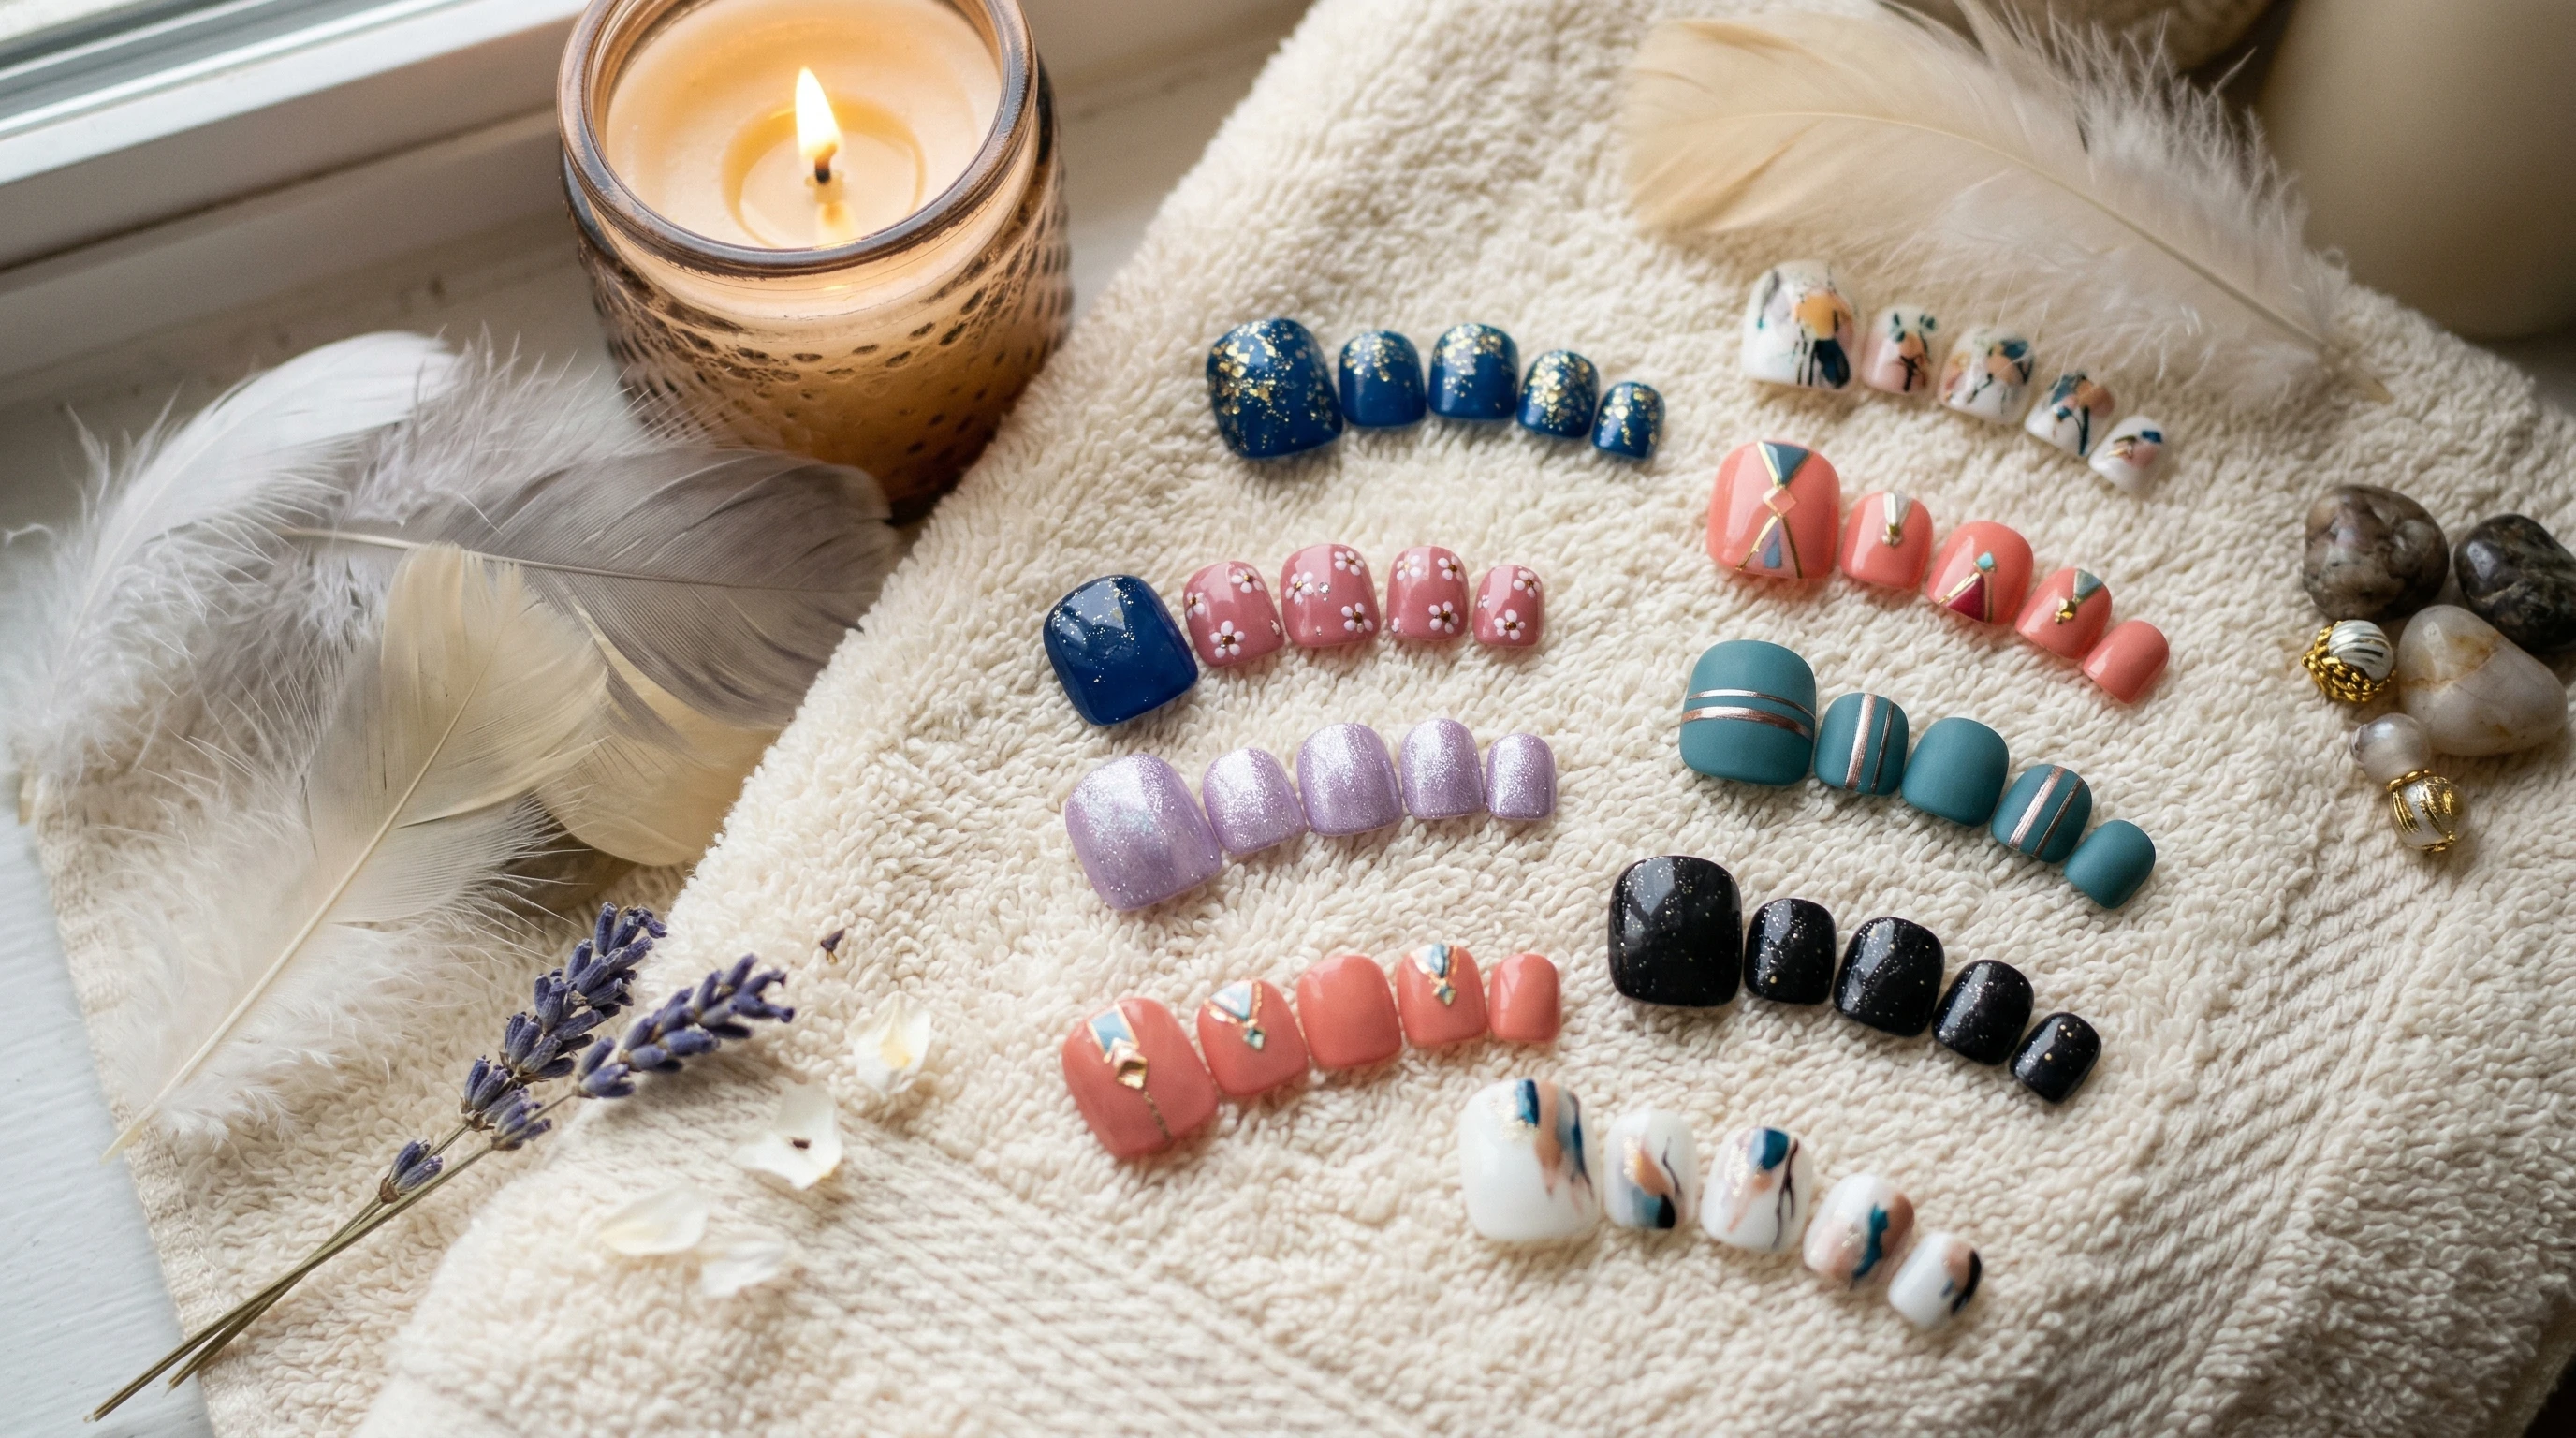
If you want your photos to really stand out, add small details like color matching your props or background to your polish. Even something simple, like wearing a toe ring that matches your polish shade, can pull a whole scene together and make it look professional. Coordinated props don’t have to be expensive; a pretty bathmat, smooth pebbles from outdoors, or even sprigs of greenery can make your feet and polish pop.
Frequently Asked Questions
Question: Should I always match polish to my skin tone or can I wear any color?
Answer: There are no strict rules, but colors matched to your skin tone usually make photos look cleaner and draw more interest. If a client requests something specific or you love experimenting, feel free to break the rules. Personal style and creativity matter just as much as tradition here, so try out new shades and see what grabs attention!
Question: How do I keep the polish looking fresh for multiple photo sessions?
Answer: Use a sturdy base and topcoat, avoid hot showers right before shooting, and keep brush-on topcoat handy for quick fixes. Avoid wearing shoes without socks between sessions to limit chips or smudges. Carrying a small polish kit for fixes at your photo location or in your studio can also save the day.
Question: What if my toenails are stained from polish?
Answer: Whitening toothpaste gently buffed onto nails, or a soak in lemon juice and baking soda, usually fades most stains. Let nails “breathe” with a clear or nude polish between colored shoots to keep them healthy. Keeping nails hydrated with cuticle oil also helps prevent future stains and gives your feet an all-over healthy look.
Your Takeaway
The polish you choose adds personality and polish (pun intended) to every shot. Matching colors with skin tone, paying attention to trends, and maintaining neat application help your foot photos look camera ready and sell more easily. Grab your favorite shades, take some test shots, and get creative; experimenting is half the fun and can really boost your photo success and sales.
Keep tweaking your colors and setups until you find what feels right for your skin tone, your style, and your buyers. Happy painting and happy selling!
Related Articles
The right nail polish color can enhance your natural skin tone and help your feet stand out in photos. Explore these guides for more styling, beauty, and photography inspiration.